How to Record Screen on Windows 10 & 11 [Easily]
Screen recording on your PC is a great way to create materials for presentations, tutorials, guides, or for creating videos but it can be hard to get started for the first time.
So today, we’re showing you exactly how to screen record on Windows 10 and Windows 11! We’ve included a few of Windows built-in screen recording features as well as a versatile alternative in case you’re looking for something more comprehensive.
Way 1. Record Screen on Windows 10/11 via Game Bar
The first method to record your screen on Windows 10/11 is by using a nifty built-in feature called ‘Game Bar’. It can record your screen if you’re using a web browser like Chrome or any other software like graphic design apps, Photoshop, and, of course, games.
The downside is you can’t use Game Bar to record your screen if you’re navigating your PC’s desktop or the Windows Explorer. This means you can’t use this to make guides or tutorials within the operating system itself, and you need an app for Game Bar to record.
Start Recording
Once you’ve got everything set up and adjusted the settings as necessary, open the app/game you’d like to start recording and follow the steps below:
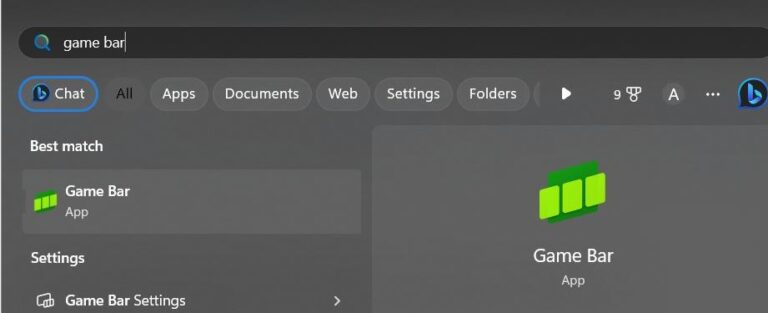
- Step 1.Open the Start menu on your Windows PC, type in ‘Game Bar’, and select the Game Bar app. Alternatively, use the shortcut (Windows logo key + G) to bring up the Game Bar app.
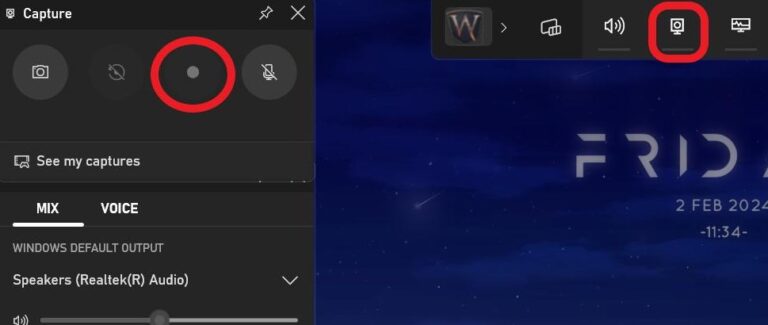
- Step 2.Enable the ‘Capture’ widget in the top-center pop-up.
- Step 3.Under the ‘Capture’ tab, select the ‘Start Recording’ icon.
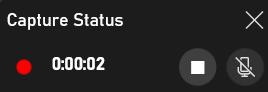
- Step 4.The recording should now start and display a ‘Capture Status’ widget somewhere on-screen.
Stop Recording
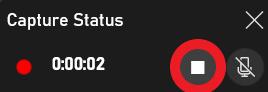
Once you’ve finished with the screen recording, go back to the ‘Capture Status’ widget and select the ‘Stop Recording’ button.
Save and View the Recording
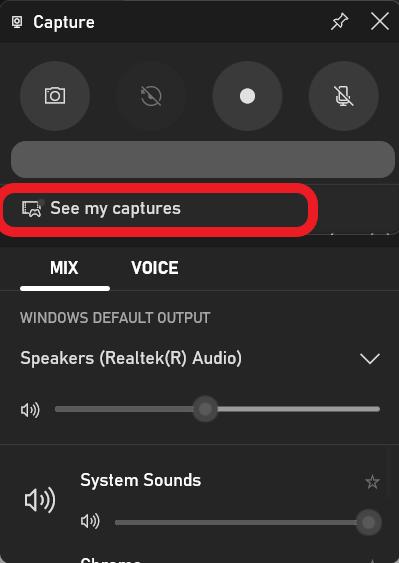
- Step 1.When you’ve saved the recording, you can view it within the Game Bar app. Open the Game Bar app again and select the ‘See my captures’ button.
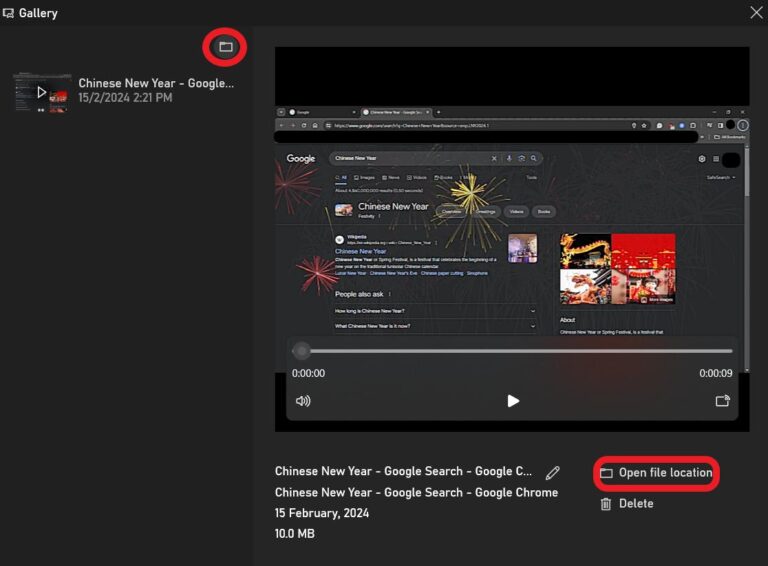
- Step 2.You’ll be redirected to the Game Bar Gallery, where you can view all videos recorded with Game Bar. Select the ‘Open file location’ button to open the folder with the recording saved. Game Bar saves recordings as MP4 files, which you can edit using another app.
Customize Game Bar Settings
To get a better capturing experience on Windows 10/11, you can configure the settings for Game Bar. Here’s where you can find and edit the settings on Windows 10 / Windows 11. We’re using Windows 11, but the location for each setting is the same on both OSes.
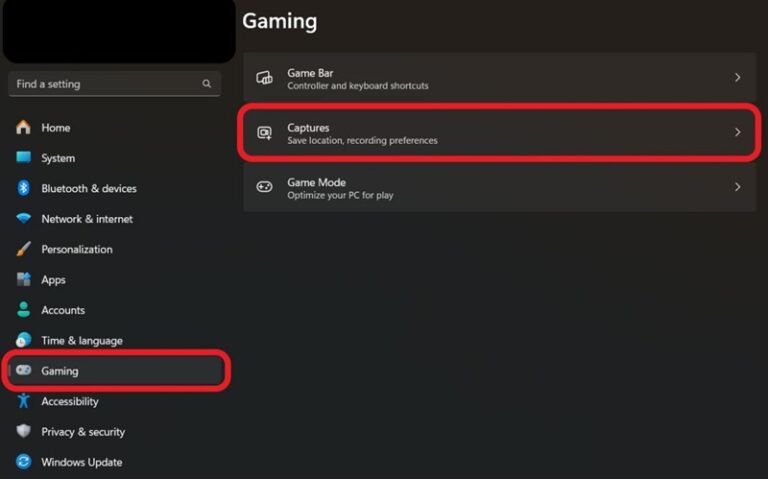
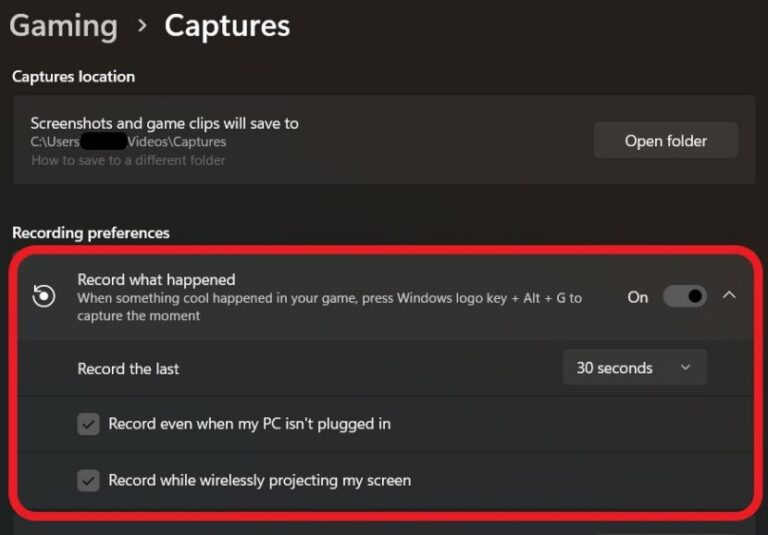
Go to the Start button > Settings > Gaming > Captures. Here you can edit all the relevant settings for your recording. By default, any recordings made are saved in the ‘Videos/Captures’ folder, but you can change this if required by editing the topmost setting.
Here are some important Game Bar settings you should know about:
1) Record what happened
If you’d like quick access to Game Bar screen recording, even if you’re not running Game Bar at the time, enabling this toggle will allow you to use a shortcut to quickly record what just happened in-game. The shortcut to do this is the Windows logo key + Alt + G.
On Windows 10 this option is called ‘Record in the background while I’m playing a game’.
You can also select how far back Game Bar can record, ranging from 30 seconds to 10 minutes. You can also enable recording when the PC isn’t plugged in and when you’re wirelessly projecting to another display.
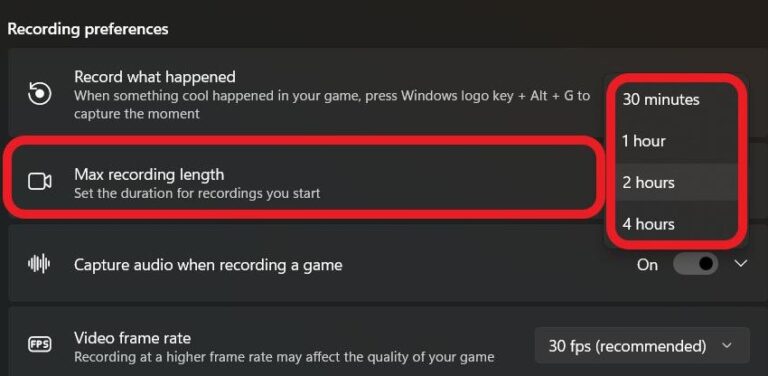
2) Max recording length
Changing this setting allows you to specify how long recordings with Game Bar can last. They range between 30 minutes to 4 hours so select which length you require for your recordings.
3) Capture audio when recording a game
You can enable this toggle if you’d like Game Bar to record not only your screen and game/app audio but also pick up what you’re saying with your PC’s mic. There are a few settings to adjust here, including your mic and system audio recording volumes, if other apps/system audio is muted when recording a game, and the audio recording quality.
4) Video frame rate
Depending on your PC, you can adjust the recording’s frame rate capture between 30FPS, 60FPS, or higher if your PC supports a refresh rate like 90Hz or 120Hz.
5) Video quality
You can change the quality of the recording between ‘Standard’ and ‘High’.
6) Capture mouse cursor when recording a game
Enable this option if you’d like your mouse cursor to appear in the recording.
Way 2. Screen Recording on Windows 10/11 via Snipping Tool
There is an alternate method to screen record on Windows 10 and it’s another built-in feature called ‘Snipping Tool’. You may have used this before to take screenshots on your PC, but it can also record your screen or portions of your screen.
Snipping Tool has been available since Windows Vista and has made its way onto every version of Windows since. It’s a highly versatile tool, but its recording features are pretty simplistic.
Here’s a quick guide to start recording Windows 10/11 with Snipping Tool:
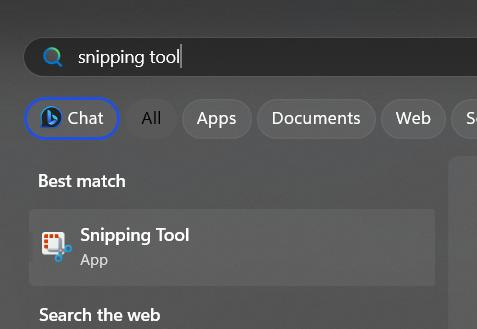
- Step 1.Open Snipping Tool from your Start menu by selecting the app or searching for it with the Search bar.
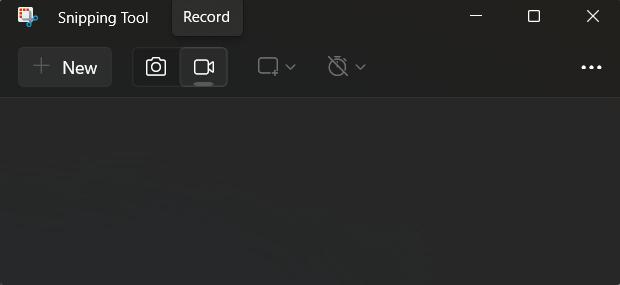
- Step 2.Click on the ‘Record’ button.
- Step 3.Select the ‘+ New’ button to start a new screen recording.
- Step 4.You’ll be prompted to select an area you’d like to record. Change the recording size as necessary or select the whole screen for a full-screen recording.
- Step 5.When you’re ready, click on the ‘Start’ button.
- Step 6.When you’re done with the recording, press the ‘Stop Recording’ button.
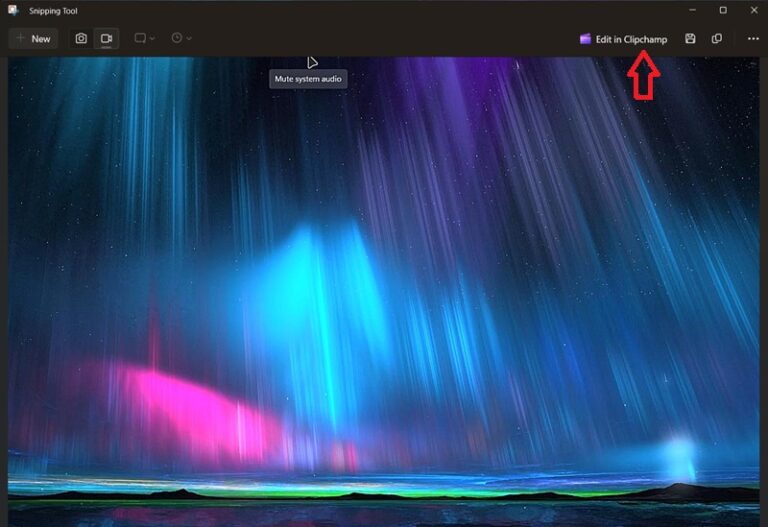
- Step 7.You’ll be redirected to view the recording within the Snipping Tool app. From here, you can save the recording, edit using Clipchamp (if your PC has the app), or share the recording.
- Step 8.Once saved, by default, it will direct you to your PC’s ‘Videos’ folder. Change the location if necessary.


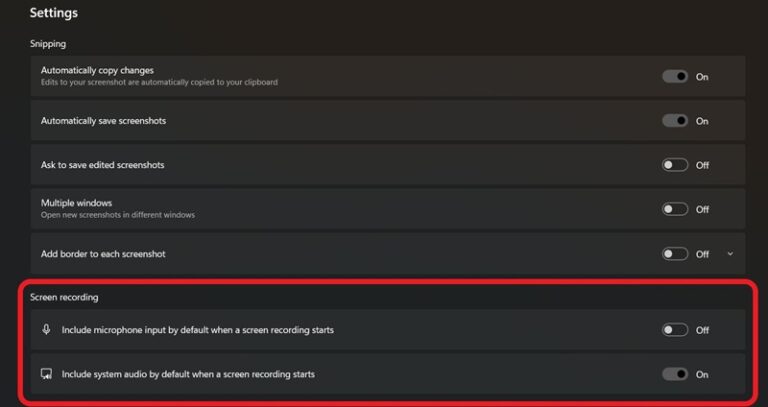
There are a few audio settings you can change with Snipping Tool in case you need to. Open the Snipping Tool on your computer, and click the three-dot on the upper right, and choose Settings. Under the ‘Screen Recording’ section, enable both toggles if you’d like to record your screen along with system/app audio and your mic audio simultaneously.
Way 3. Record the Screen on Windows 10/11 with Snagit
The last method we’re featuring is using a third-party app to record the screen on Windows 10/11. In this case, we’re using Snagit, one of the versatile screen recording tools for Windows PCs with a lot of exclusive features.
There’s a ‘Screen Draw’ feature that lets you draw on your screen while recording, a great tool for explainer videos or tutorials. Plus, Snagit includes a built-in editor that lets you directly edit your screen recordings to add text boxes, drawings, shapes, arrows, and much more.
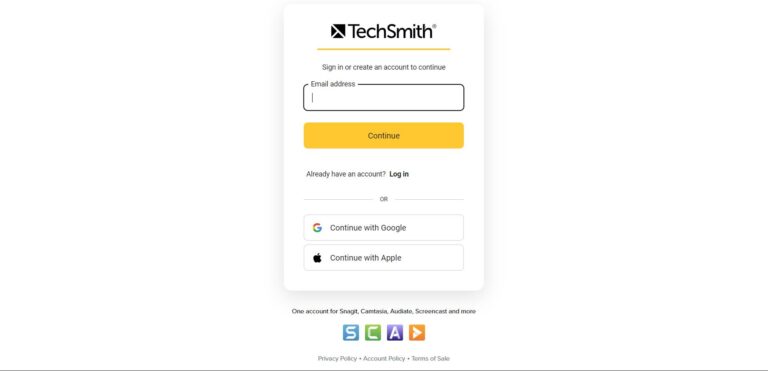
- Step 1.Download Snagit from the official website on your Windows computer, launch the app, and complete the setup. You can create an account to start a free trial.
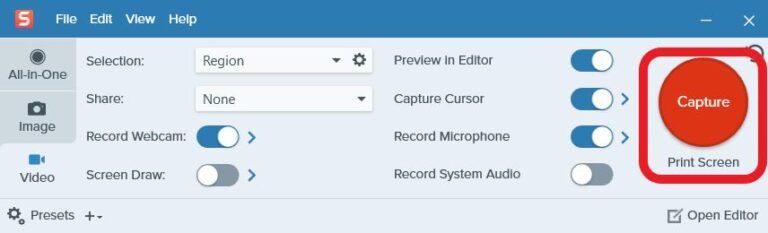
- Step 2.In the Snagit pop-up window, select the ‘Video’ option.
- Step 3.Enable the relevant settings you’d like for the recording.
- Step 4.Click on the ‘Capture’ button when you’re ready to start the recording.
- Step 5.Select the area you’d like to record.
- Step 6.Click on the ‘Record’ button when you’re ready to start.
- Step 7.Press the ‘Stop’ button to end the recording.
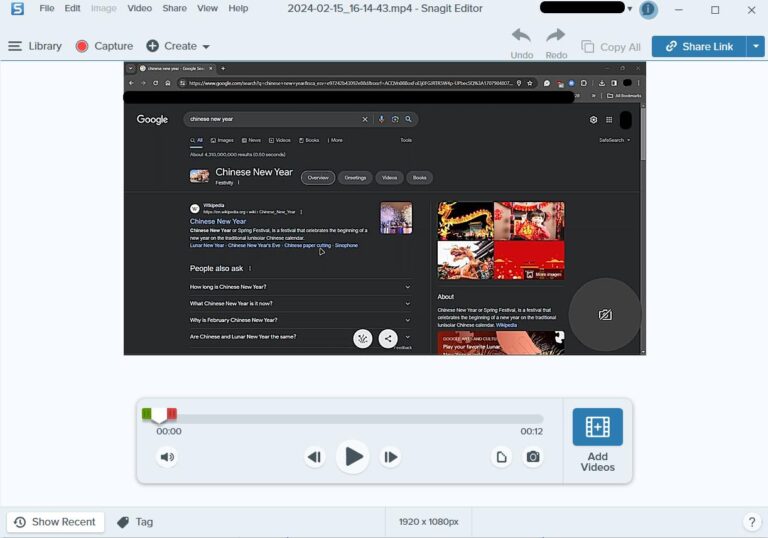
- Step 8.Once you’re done with the recording, it will redirect you to the Snagit Editor. You can trim and edit the clip.


However, the downside is there’s no free version of Snagit. There is a 15-day free trial, but you’ll have to pay a one-time fee of $62.99 to unlock the software and all its features after the trial period is over.
Bonus Tip: Screen Mirror Windows PC to PC/TV
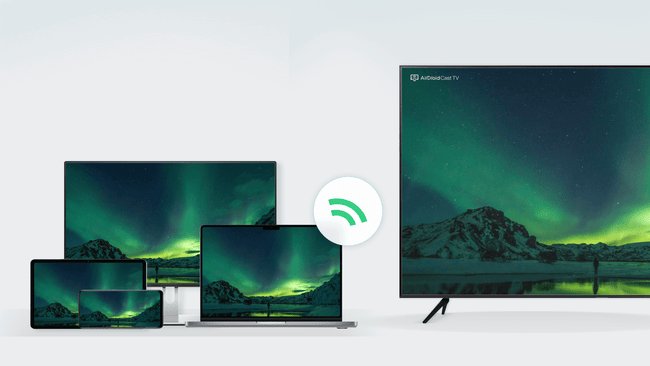
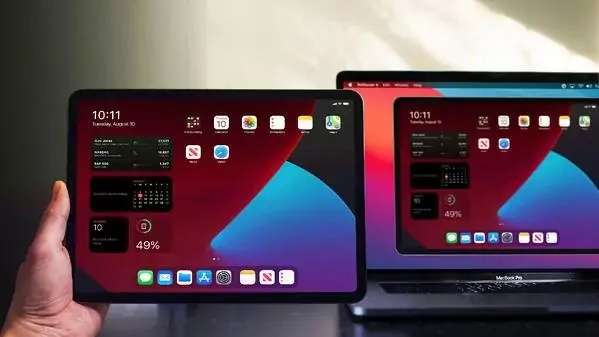
Apart from screen recording, sometimes you may want to share your computer screen with another computer or TV for meetings, teaching, or entertainment. In that case, AirDroid Cast can help you mirror your PC screen to another PC, Mac, TV, Android, or iOS device.
You can also enjoy the two-way audio feature to communicate with others while mirroring your screen. It works whether two devices connect to the same or different Wi-Fi.
Conclusion
We’ve reached the end of our guide on how to start recording your screen on Windows 10/11 with three great methods to try. Depending on your needs and preferences, try the app that suits you best.
For most users, Game Bar is a great tool to record your screen. Snipping Tool is a great alternative if all you need is to quickly capture whatever’s on-screen. But if you require the most advanced screen recording features, it’s best to get dedicated software like Snagit. While it will cost you a pretty penny, if you use screen recording/screenshot tools often, it might be worth the investment.


Leave a Reply.