How to Record Audio on Mac (3 Easy Ways)
Apple’s MacBooks and iMacs are filled with intuitive and useful features, but sometimes it can be a bit overwhelming when looking for specific tools for the first time.
So today, we’re showing you how to record audio on a Mac with 3 different methods to try. We’ve included great built-in solutions, but we’ve also included a few alternatives.
Way 1. Record Audio on Mac via Voice Memos
The first method to start audio recording on Mac is by using the Voice Memos app. Voice Memos comes pre-installed on Macs and is a great option if all you need is a quick way to record some audio. However, Voice Memos can only record the microphone audio, and it can't record the internal audio on your Mac.
It does the basics right, but it can’t do much else, such as advanced features and editing tools.
But the good news is you can record with the Voice Memos app from your iPhone, iPad, or Apple Watch and seamlessly transfer it over to your Mac if they’re on the same Apple ID.
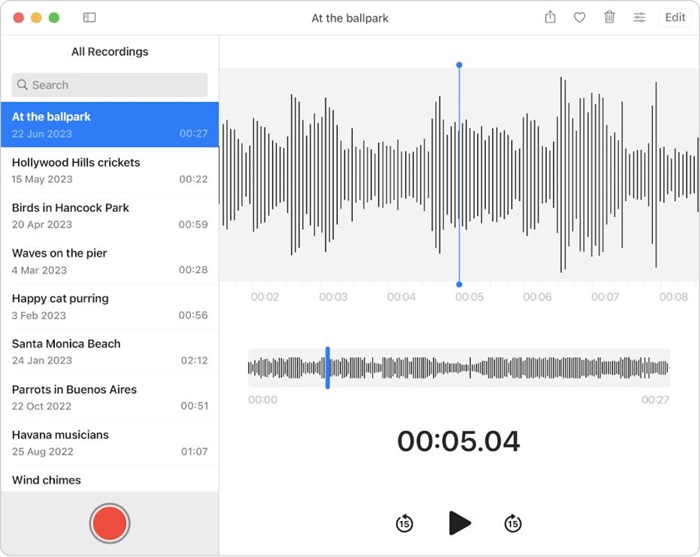
- Step 1.Open your Launchpad and open the Voice Memos app.
- Step 2.In the Voice Memos app, click the red ‘Record’ button to start a new audio recording. This will use your Mac’s mic by default unless you plug in a headset with a mic or an external mic.
- Step 3.To pause, you can click the red ‘Pause’ button. Click it again to resume the recording.
- Step 4.Once you’re done with the recording, click on the ‘Done’ button in the bottom-right corner of the app window. The voice memo will be saved as ‘New Recording’ until you change the name.
Way 2. Record Audio from Mac with QuickTime Player
Alternatively, there’s another option if you’re looking for a more advanced solution to record internal audio on Mac. Unlike the Voice Memos app which only records external audio, the QuickTime Player can also record in-device audio.
QuickTime Player is a versatile tool to record all aspects of a video and for a built-in solution, you have plenty of options to toy around with. Here’s how to start an audio recording with QuickTime Player:
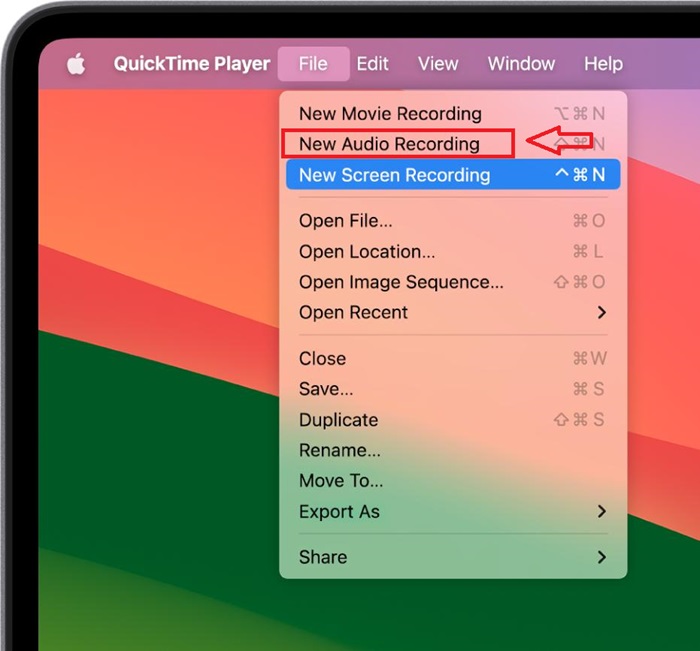
- Step 1.Open the QuickTime Player app from Launchpad or Spotlight Search.
- Step 2.You’ll notice that the menu bar in the top-left-hand corner is now set to ‘QuickTime Player’.
- Step 3.Select ‘File’ in the menu bar. Then select ‘New Audio Recording’.
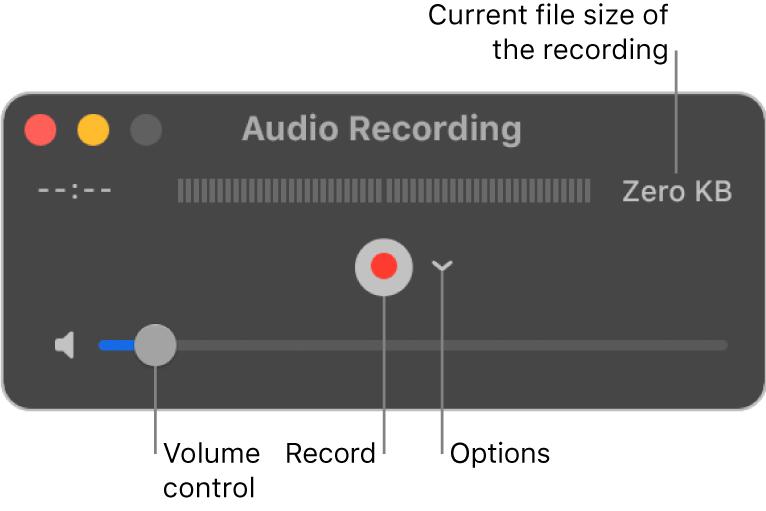
- Step 4.The audio recorder window should pop up. Here you have a few things you can change. Clicking on the downwards arrow icon to open ‘Options’ allows you to change the audio recording quality between ‘High’ or ‘Maximum’.
- Step 5.When you’re ready to record, click the red ‘Record’ button.
- Step 6.To pause the audio recording, click on the ‘Record’ button while holding down the ‘Option’ key. Option-click the Record button again to resume.
- Step 7.Once you’re done recording, press the ‘Stop’ button and go to ‘File’. Then select ‘Save’.
Way 3. How to Record Mac Audio Online
If for whatever reason you can’t or don’t want to use the built-in solutions like Voice Memos or the QuickTime Player, you have quite a few alternatives to try out. If you’re looking for the simplest way to record Mac audio, then your best bet is to use an online audio recorder tool.
Veed has a bunch of great layouts and presets to record videos. Apart from recording audio, you can also record your screen with in-device audio, add face cam footage, presentation slides, and more.
That said, here’s how to start an audio recording online with Veed:
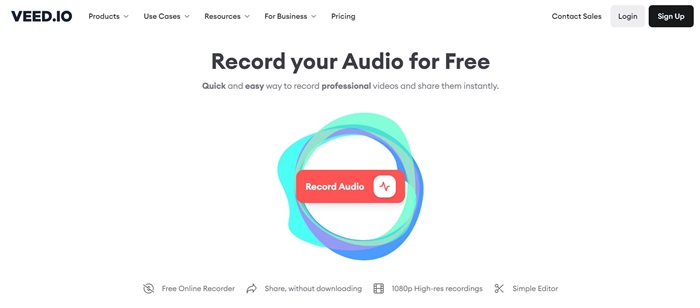
- Step 1.Open your web browser and go to Veed Online Voice Recorder.
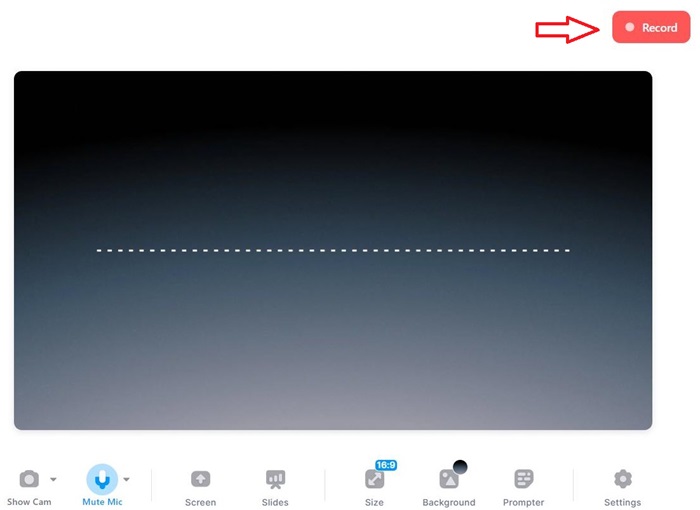
- Step 2.Click on the Record Audio button.
- Step 3.Allow Veed to access your microphone.
- Step 4.4.Add a face cam or screen recording if you need it. Make sure the ‘Mute Mic’ toggle is not enabled.
- Step 5.Press the ‘Record’ button to start the audio recording.
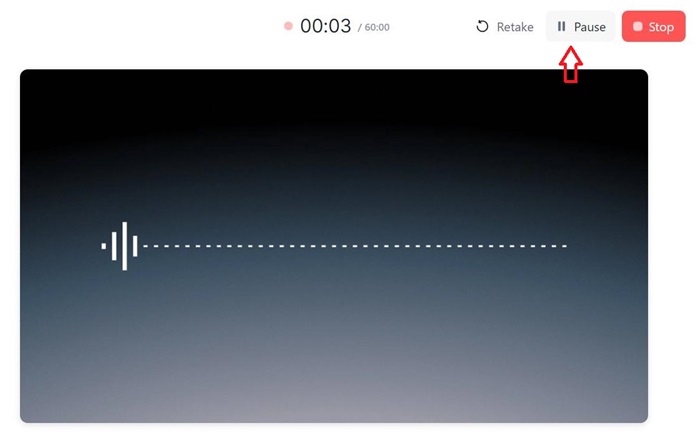
- Step 6.Press the ‘Pause’ button to pause the recording.
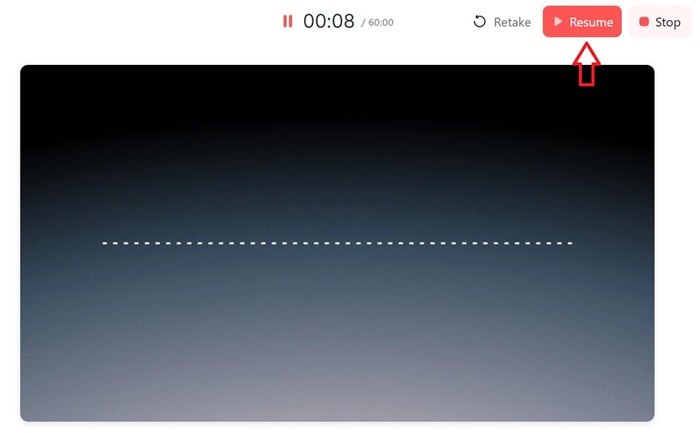
- Step 7.Press the ‘Resume’ button to resume the recording.
- Step 8.When you’re done with the recording, press ‘Stop’ and wait for Veed to finish uploading.
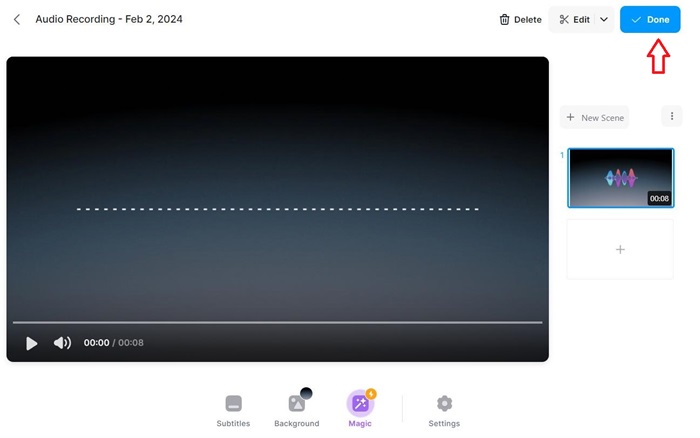
- Step 9.Click ‘Done’.
- Step 10.Then follow the on-screen instructions to export the file and save it to your Mac.
Comparison of the 3 Ways
For most users, you can record audio with either the Voice Memos or QuickTime Player apps. They’re robust, simple to use, and straightforward enough for quick recordings. But if you’re searching for advanced recording and audio editing, try a third-party tool online.
| Audio Recorder | Voice Memos | QuickTime Player | Veed |
|---|---|---|---|
| Flexibility | Medium | High | High |
| Difficulty | Easy | Moderate | Easy |
| Price | Free | Free | Free or $12 per month |
| Best for | Quick memos and recordings | Creating simple videos on Mac | Lightweight audio recording |
Bonus: All-in-one Screen Mirroring Tool AirDroid Cast
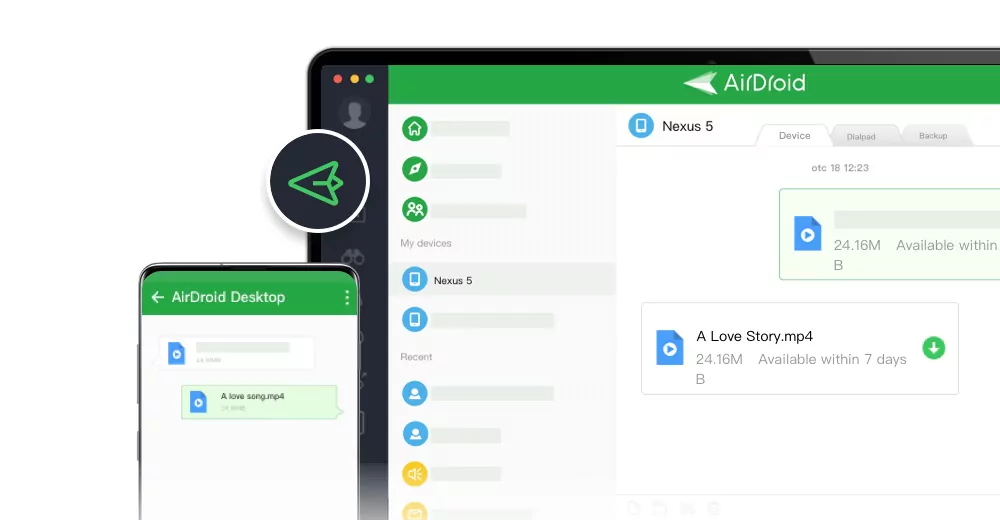
AirDroid Cast is a one-stop solution for all things screen casting and mirroring. The good news is that AirDroid Cast is available on most major platforms including Android, Windows, iOS, macOS, Android TV, and a robust web platform!
Not to mention AirDroid Cast can deliver both in-device and two-way audio between the cast sender and receiver.
Additionally, you can also record your phone's audio from Mac by mirroring your phone screen to your Mac using AirDroid Cast, including the phone's internal audio and microphone.

Summary
And that’s how to record audio on a Mac with either built-in tools or third-party solutions. If you’re having trouble deciding, it’s best to identify what you need the audio recording for. Is it to take note of quick memos, or is it for video production? Then you can decide which method to use. In most cases, using QuickTime Player should be great for audio recording on Mac.


Leave a Reply.