How to Fix 'iMessage Need to Be Enabled to Send This Message'
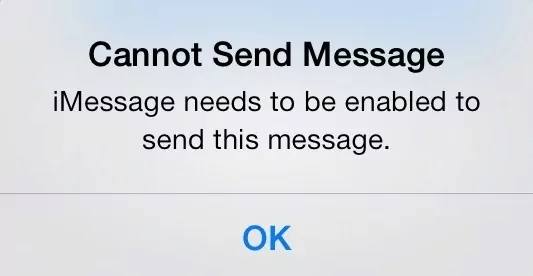
When trying to send messages on your iPhone, iPad, or Mac, you might suddenly see a pop-up saying "iMessage needs to be enabled to send this message." This error can stop your message from being delivered, even if everything seems fine. Fortunately, it usually takes just a few quick steps to fix the issue and get your messages working again.
In this article, you will surf through the best ways you can try to sort out overcoming the error message while messaging on iOS devices and Mac. Connect with the optimal method and immediately rule out the issues related to instant messaging.
'iMessage Needs to Be Enabled to Send This Message' Explained
If you’ve encountered this message on your iPhone or Mac, you might be wondering what exactly it means and why it's preventing you from sending messages. This error usually points to a setting that needs to be adjusted before iMessage can function properly.
"Message needs to be enabled" typically indicates:
• Permission Required: An application or your device needs your permission to send or receive messages (like texts, alerts, or in-app communications).
• Adjust Settings: You'll likely need to go into the messaging, app, or notification settings to grant this permission.
• Functionality: Enabling this ensures that messages and important updates are delivered correctly and prevents you from missing communications.
6 Ways to Fix 'iMessage Need to Be Enabled to Send This Message'
A quick synopsis of the optimal ways to fix the iMessage errors and ensure successful messaging using this in-built messaging module on your device. Here are some quick fixes you can try when you struggle to text your friends and family through this iMessage platform.
1. Fix Network Settings
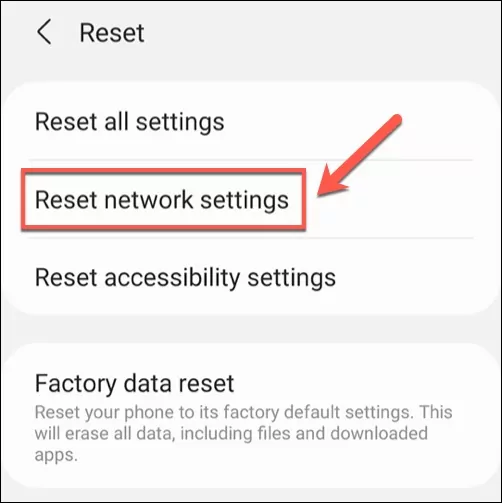
There can be an underlying issue with the network you connect. It is a good idea to reset the network setting before you try other methods. It is the first simple step to ensure there is no problem with the network. To reset the network, follow the below steps.
Step 1: Go to Settings on your device
Step 2: Then tap General-> Reset options from the expanded items
Step 3: Finally hit the 'Reset Network Settings
It fixes unknown issues with the network and gives you better connectivity while using the iMessage program.
2. Check If iMessage is Enabled
Next, you can also look for the iMessage settings and ensure it is enabled for flawless messaging service on your device. To enable your gadget, navigate the following steps as discussed below.
Step 1: Now go to Settings on your device.
Step 2: Then, press Messages from the displayed items.
Step 3: Next, turn on the iMessage toggle button and wait for a moment until it activates.
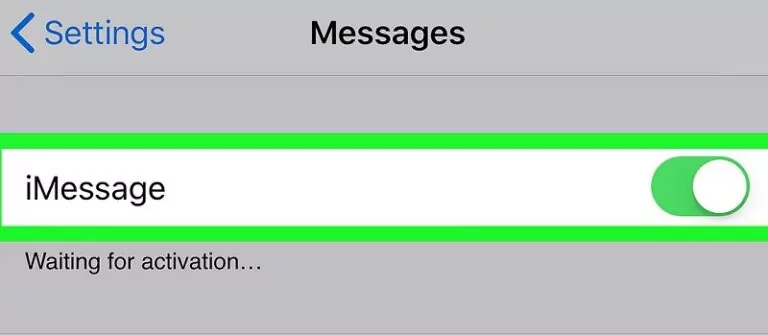
Do not forget to enable this option before trying the iMessage service. If the problem exists, even after enabling the iMessage module in the device, you can turn it off and then switch it on again to fix the unknown bugs in the device.
3. Investigate the server
Now, observe the server and find any issues with it. Sometimes the iMessage server stops functioning for various reasons. Go to the Apple System Status to figure out the status of the server function and then continue with the iMessage service.
4. Disable and Enable the iMessage Attributes
You can try resetting the iMessage settings and then proceed by sending the texts to desired destination hassle-free.
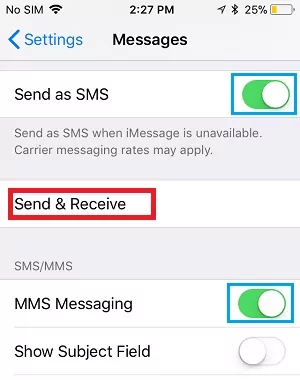
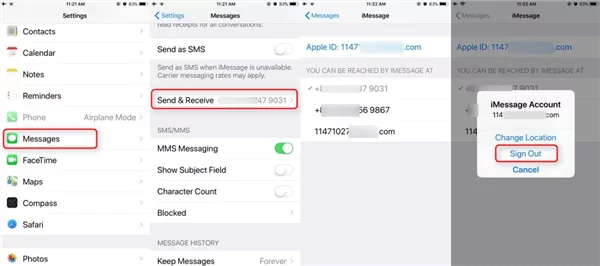
- Step 1: Unlock your device and then go to the Settings option.
- Step 2: Then, press Messages -> select Send and Receive option from the displayed items.
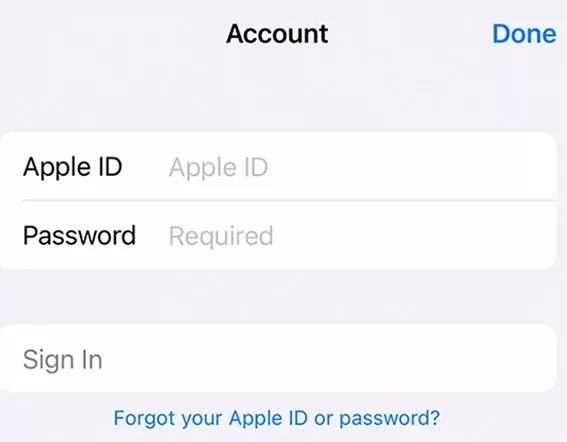
- Step 3: Hit the Apple ID and log out from the account.
- Step 4: Now, reboot the device and then activate the iMessage settings.
- Step 5: Finally, sign in again with the Apple account.
After completing all the above-discussed steps, try sending texts to the desired gadget using the iMessage platform.
5. Restart Your Device
It may happen that a minor bug in the iMessage app or your iPhone is hindering the normal functioning of iMessage. All you need to do is restart your device to get rid of minor glitches.
6. Reset iMessage Settings
Another simple method to get rid of the iMessage error is resetting the iMessage settings. This solution has worked for many users, and it might also serve your purpose as well.
Here's what you need to do:
Step 1. From iPhone's Settings, go to Messages and tap the Send & Receive option.
Step 2. Now, you should uncheck the email address and phone number.
Step 3. Now, tap your Apple ID and sign out from your account.
Step 4. Finally, restart the iPhone, head to Settings, and enable iMessage. Also, sign in to your Apple ID again.
How to Enable iMessage on iPhone/Mac?
on iPhone
Activating iMessage on iPhone is as easy as it can get. All it takes is a few clicks to get the job done. Note that the process to enable iMessage is the same for all iPhones including iPhone 12//13/14 or older.
Check out how to enable iMessage on iPhone 12:
Step 1. Head to your iPhone's Settings.
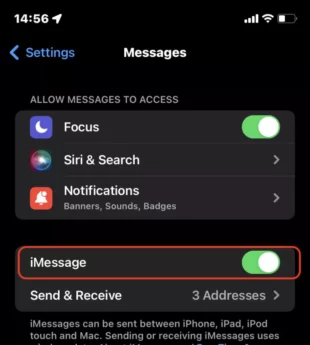
Step 2. Scroll down and tap the Messages icon.
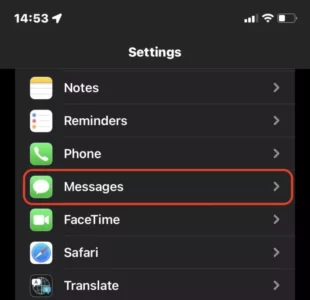
Step 3. Here, you'll see the iMessage icon. Simply, swipe its toggle to enable it. Now, you can send and receive messages to people having iMessage enabled on their devices. If you also want to sync your iMessage activity to your iCloud account, then:
Step 4. Go to Settings > iCloud > Messages, and toggle it to Green.
Now, all your iMessages will appear on any other iOS device logged in with the same Apple ID. The good thing is you need to follow the same procedure for how to activate iMessage on iPad.
on Mac
Contrary to what you might think, enabling iMessage on Mac is even easier. Just follow the below steps to start using iMessage on your Mac:
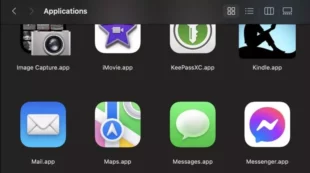
Step 1. On your Mac, head to the Applications folder and open Messages.
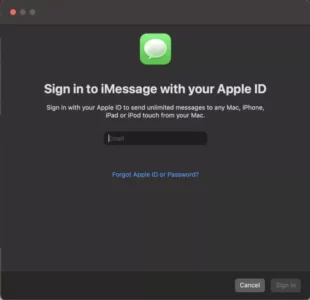
Step 2. On the pop-up interface, login with your Apple ID to proceed.
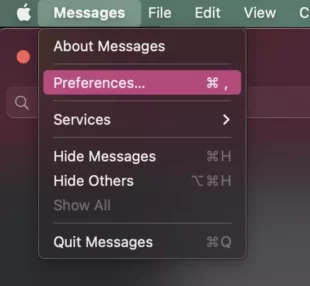
Step 3. After logging in, go to Messages > Preferences
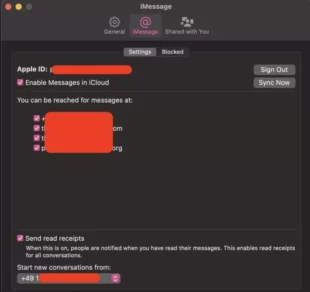
Step 4. Here, Ensure Enable Messages in iCloud is ticked, so you can sync your messaging history across devices. Also, tick where people can message you — your phone number, your iCloud email, or both.
And that's how to enable iMessage on Mac. Now, you can now enjoy chatting on iMessage with your family or mates.
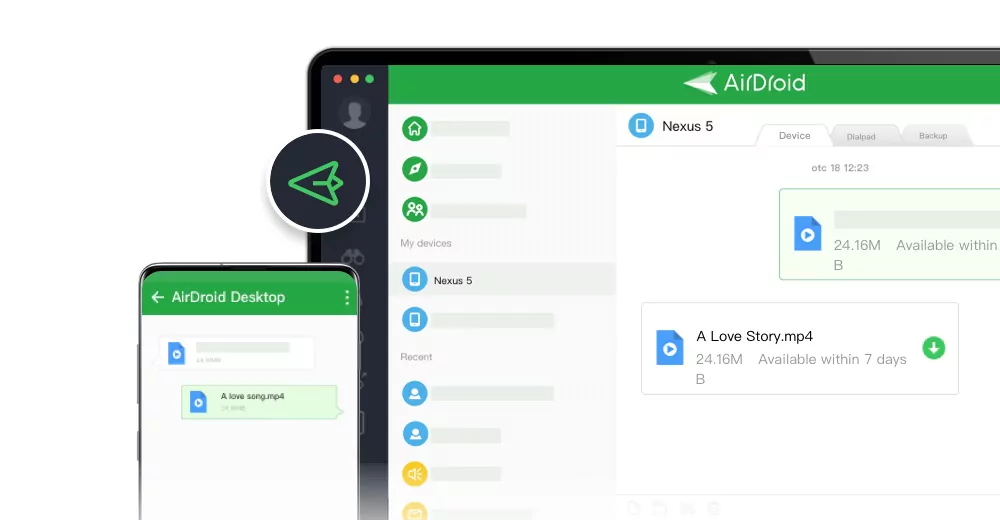
The Optimal Method to Send Messages– AirDroid Personal
Here is an impressive tool that performs like a pro for hassle-free sharing of messages and media files between gadgets. The cross-platform operation of this program persuades the users in no time. You can send messages from one device to another despite their working platform and manage notifications.
The AirDroid Personal app helps you to synchronize the messaging channel with your PC and assists you in responding to notifications immediately without picking up your gadget. There are options to block messages and notifications from less important applications to save valuable time when you are busy working on your PC.
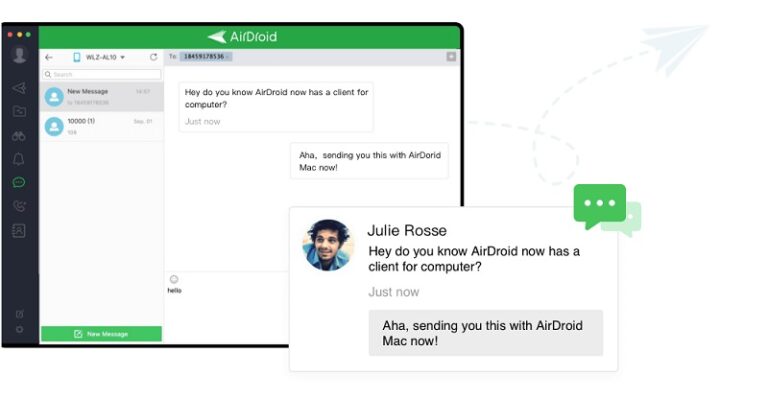
Efficiently synchronising phone calls and messages with your PC through AirDroid Personal applications increases productivity. You can quickly reply to the messages using the connecting platform offered by this innovative tool. The AirDroid Personal app assists in addressing phone calls via PC; therefore, you no longer have to search for your gadget.
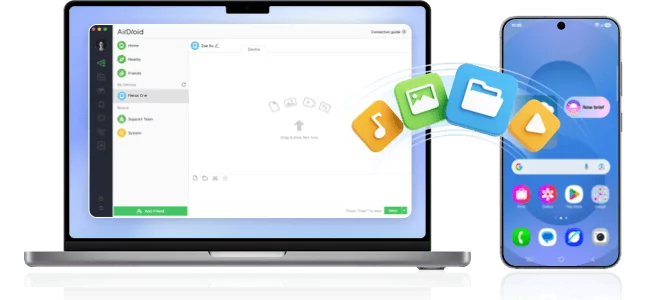
The Key Features of the AirDroid
- Send messages and manage notifications efficiently
- Respond to the messages directly from the PC
- It provides a sophisticated platform for sending and receive SMS
- Synchronizes with the phone despite its working environment.
- You can import the contacts from your phone to send new messages
Conclusion
Now you have a better understanding of how to sort the error texts, iMessage needs to be enabled to send this message while attempting to message from your device. This article has given enough insights on an efficient way to send texts and transfer files hassle-free from one device to another using the AirDroid Personal program. You can connect with this tool to meet your expectations related to transferring files. The AirDroid Personal application serves the user's needs without compromising on any factors. Stay connected with the article to discover interesting facts on file transfers between gadgets.


Leave a Reply.