Table of Contents


How Can I Customize Devices Time Zones in Kiosk Mode?
Table of Contents[ShowHide]
Managing Android devices in Kiosk Mode across various geographical locations can pose a significant challenge for enterprises, particularly when it comes to ensuring device times are synchronized. Discrepancies in time zones can result in confusion, miscommunication, and inefficiency.
AirDroid Business offers a solution to this issue. By configuring the time zone setting for the Kiosk mode of AirDroid Business, each device can operate according to its local time. This not only promotes an accurate time display but also facilitates improved device management.
In this article, we will guide you through the process of setting up the time zone for Kiosk mode.
- Step 1Access the "Time Zone" Section for Kiosk Mode
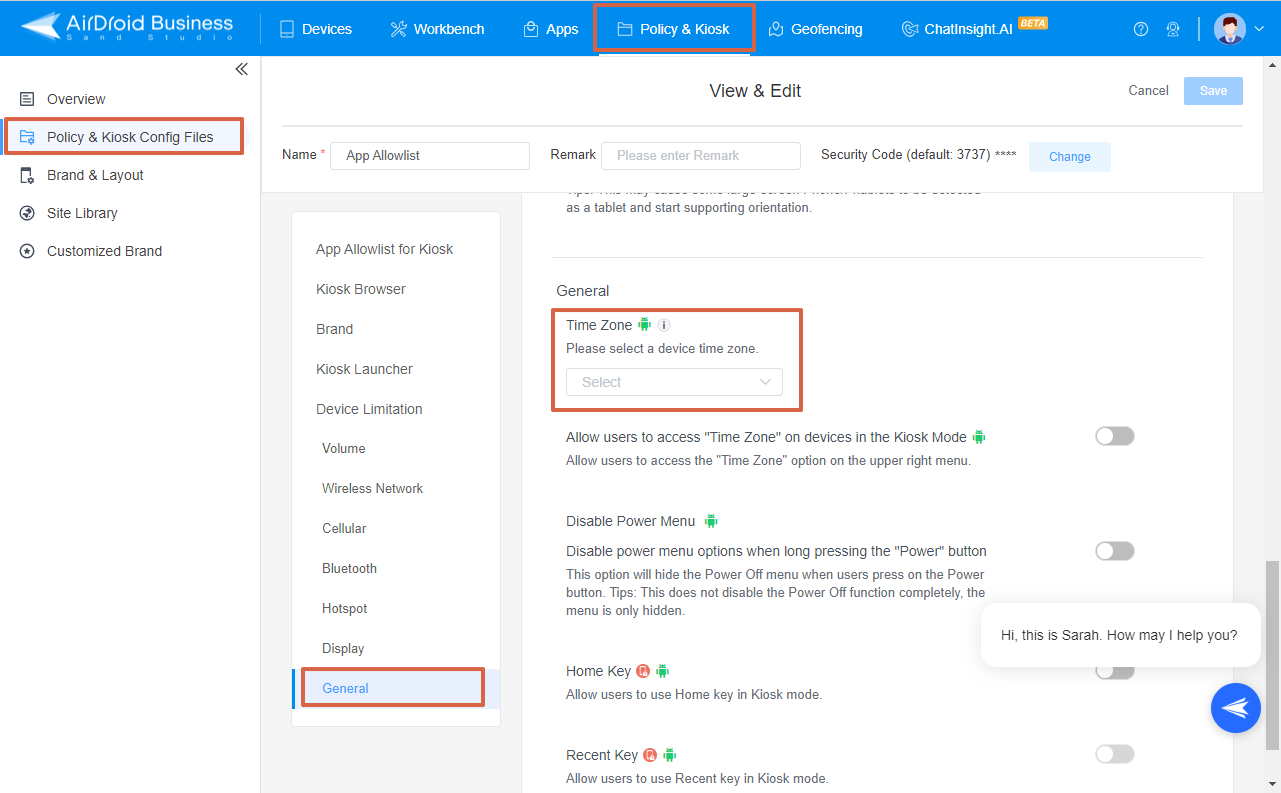
- Go to Admin Console > Policy & Kiosk > Policy & Kiosk Config Files. Click on the Arrow icon on your existing Config File > Edit.
- If you have not created a Config File, click + Create Config File instead.
- Next, click on Device Limitation > General. You can see the "Time Zone" section. This is where you can customize devices time zones in Kiosk mode.
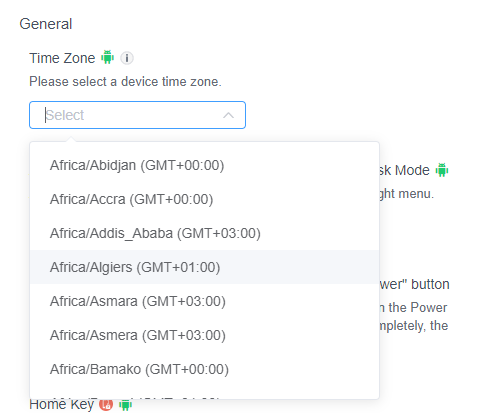
- Step 2Customize the Time Zone
- Select the appropriate time zone by using the drop-down box.
Note :
1. Devices enrolled through Android Enterprise or Zero Touch on Android 9.0 and above are not supported.
2. Devices with Android 8.0 and 8.1 are not supported.
3. The devices with Android 9.0 or above need to gain Device Owner permission to take effect.
1. Devices enrolled through Android Enterprise or Zero Touch on Android 9.0 and above are not supported.
2. Devices with Android 8.0 and 8.1 are not supported.
3. The devices with Android 9.0 or above need to gain Device Owner permission to take effect.
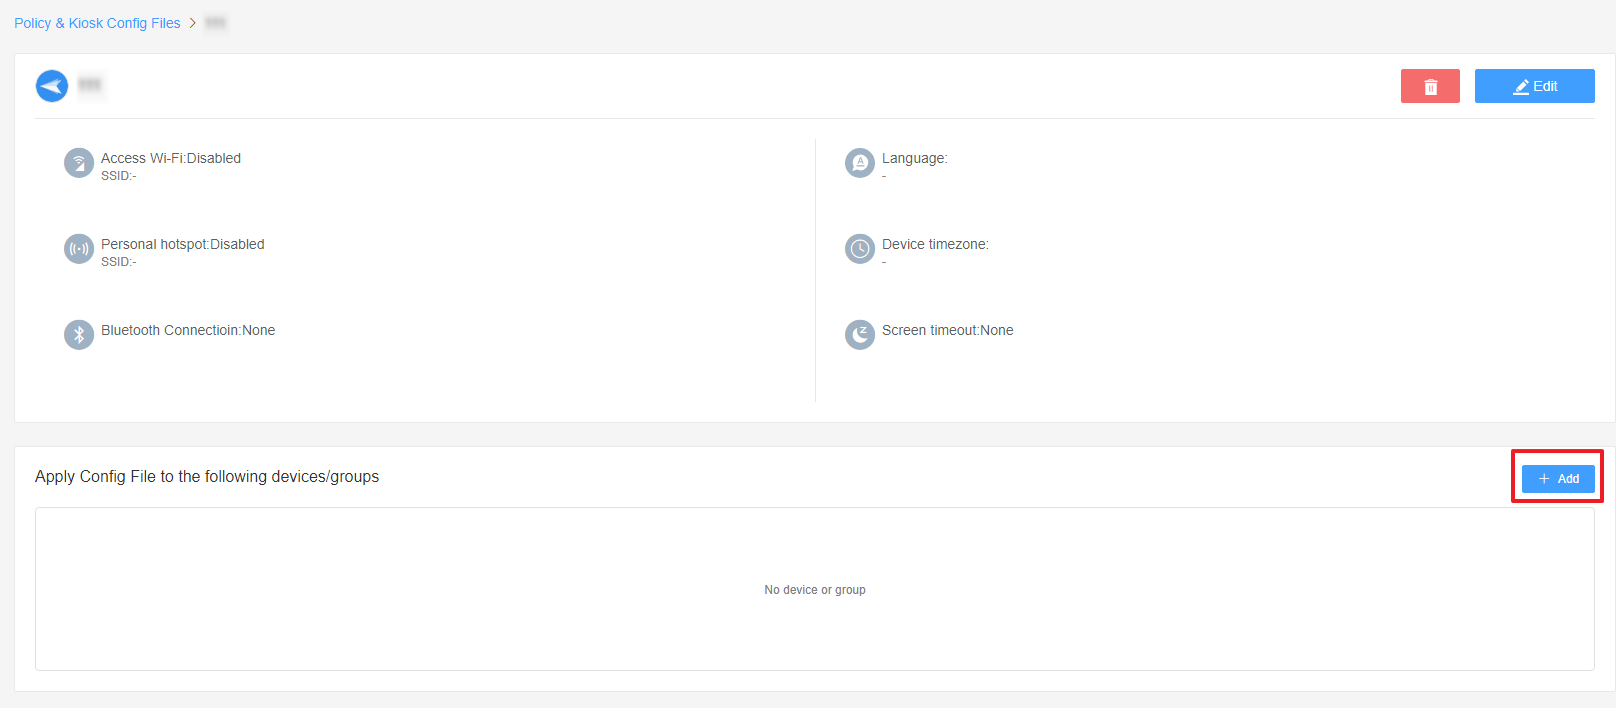
- Step 3Save and Apply the Settings
- After setting up this Kiosk File, click the "Save" button on the top right corner. (When you create this file for the first time, you will need to fill in the file name and remarks.)


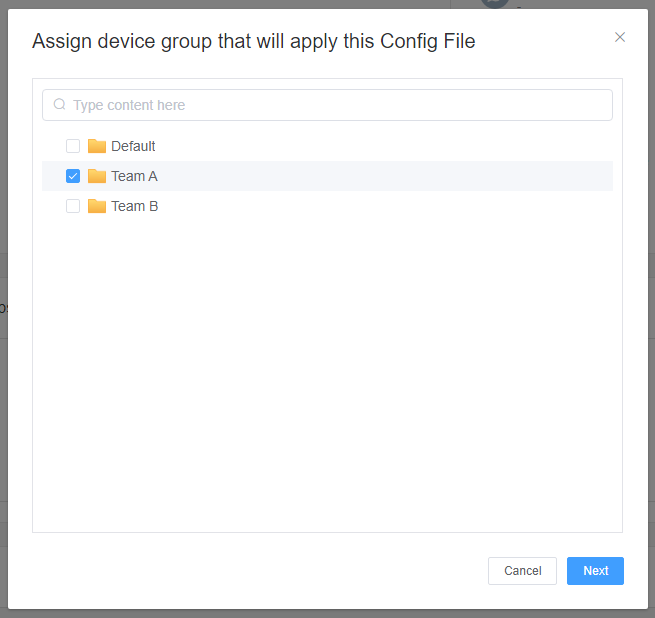
- Next, select the Kiosk File you just created or edited. Find the [Apply Config File to the following devices/groups] and click [+Add]. Choose the devices or groups to which you want to apply the kiosk settings to and confirm.


- When the status in the list turns to "Applied successfully", it means the kiosk settings have been successfully applied to the target devices.


Was This Page Helpful?
Still need help? Submit a request >>
Related Articles
- How to use App Allowlist for Kiosk Mode in AirDroid Business?
- How to Set up Kiosk Website Allowlist on AirDroid Business?
- How to set up Kiosk Browser Settings on AirDroid Business?
- How do I Customize the Kiosk Brand within AirDroid Business?
- How to Modify My Brand and Layout in Kiosk Mode of AirDroid Business?
See all articles