Table of Contents


How do I Set up a Geofence on AirDroid Business?
Table of Contents[ShowHide]
Geofencing is a location-based service that allows businesses to set up virtual boundaries around a geographical area to manage Android devices. Here's a simple guide on how to set up a geofence with AirDroid Business.
To set up a Geofence, please refer to the steps below:
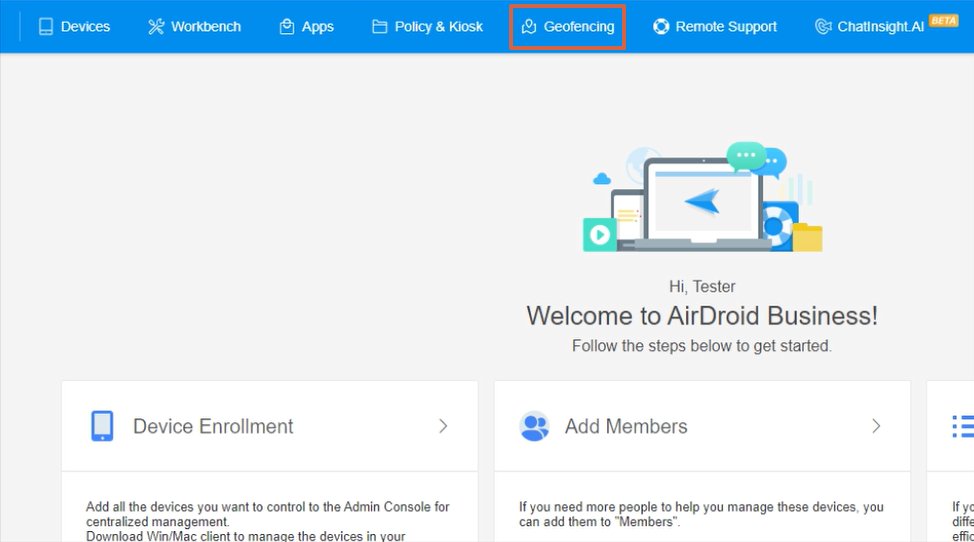
- Step 1Navigate to Geofencing Tab
- Log in to your AirDroid Business dashboard. From the top of the page, switch to the 'Geofencing' tab.
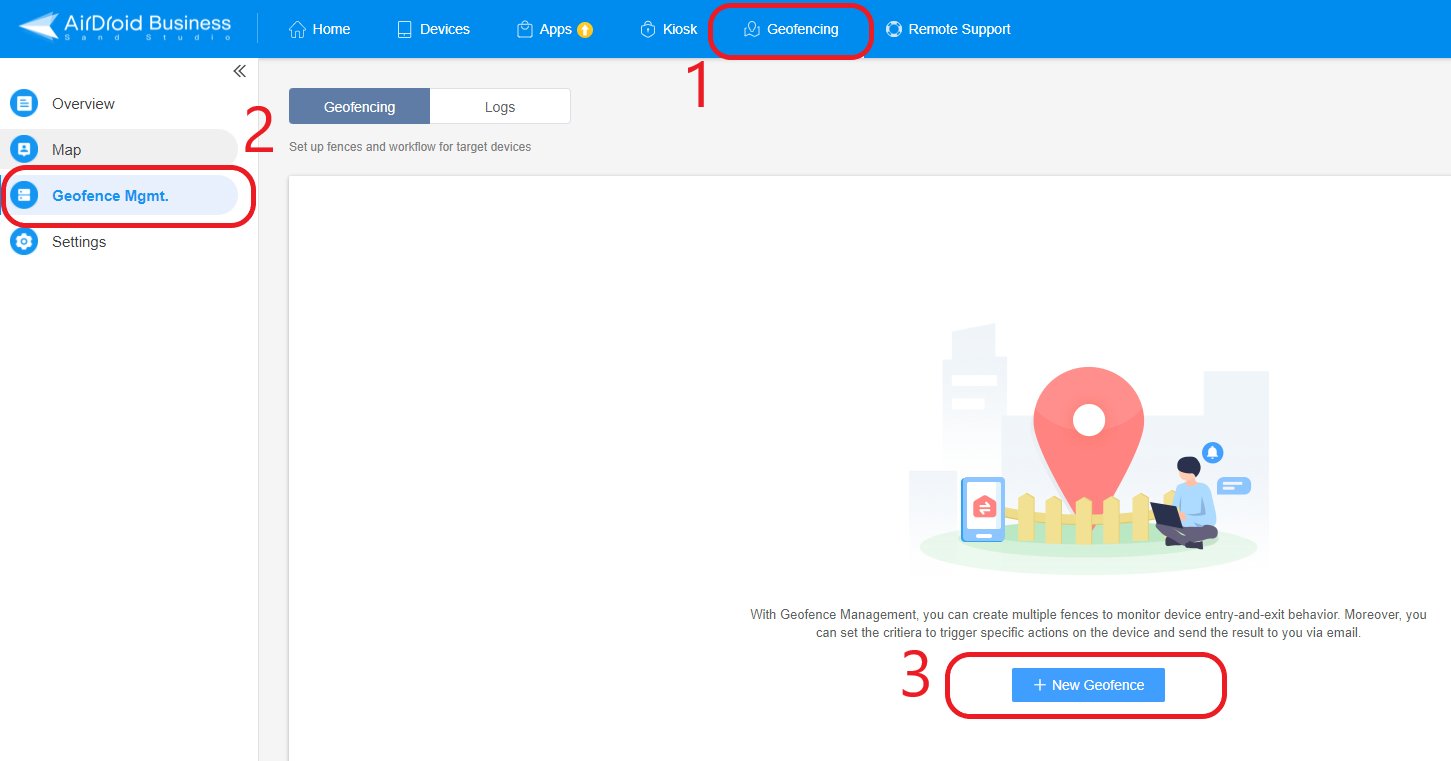
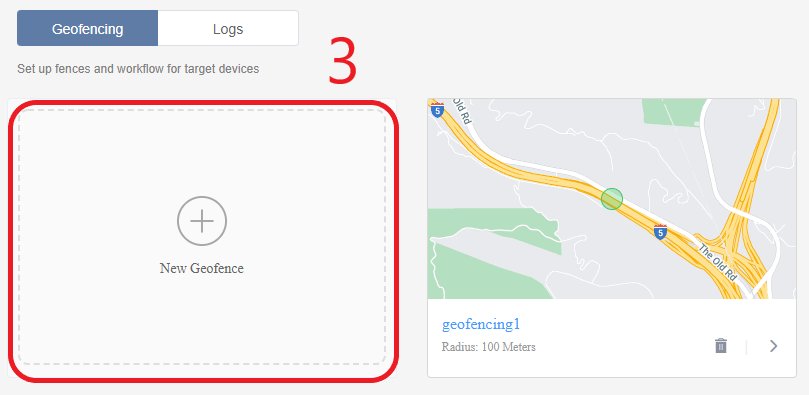
- Step 2Create a New Geofence
- Click on 'Geofence Mgmt.' and then select '+New Geofence'. If there are existing geofences, you can also click on the blank block with '+New Geofence' in the middle.
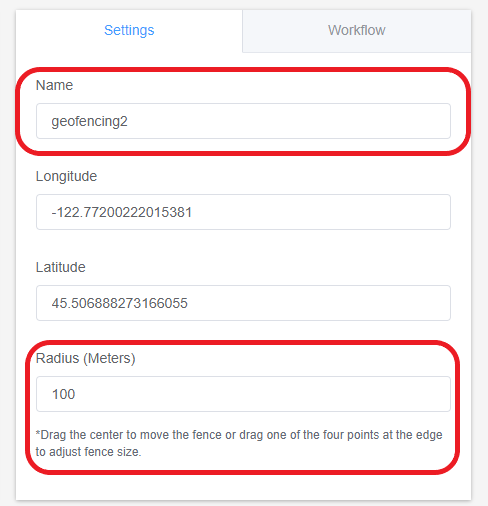
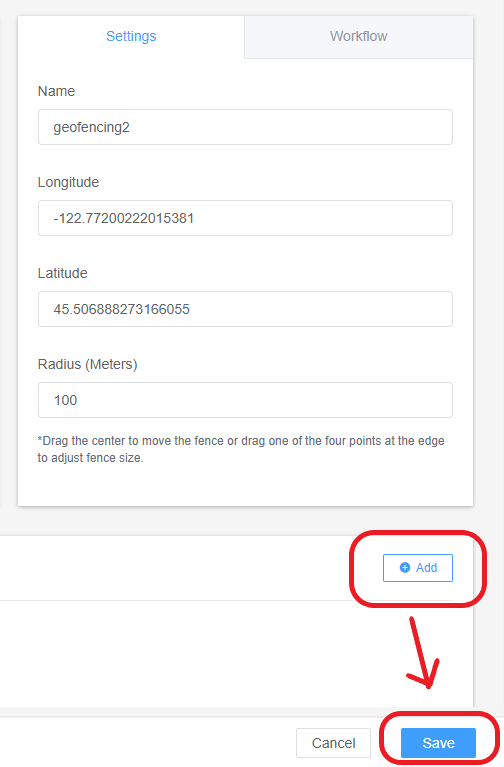
- Step 3Configure the Geofence
- Drag the fence to your desired location. Input the longitude and latitude of the location, or input the location keyword. Fill in the name and the radius of the Geofence.
- Step 4Apply the Geofence
- Click on '⊕Add' at the bottom right corner. Select the groups or devices that the Geofence will apply to and then click the 'Save' button.
With these steps, you've successfully set up a geofence with AirDroid Business.
Was This Page Helpful?
Still need help? Submit a request >>
Related Articles
You May Also Like
- How do I Choose the Enrollment Method on AirDroid Business?
- Enrollment Preparation: How to use Provisioning Template?
- How to use The Enrollment via Device Owner?
- How to use Android Enterprise Enrollment?
- How to use Zero Touch to enroll your devices with AirDroid Business?
See all articles