

How to Adjust Display Settings in Kiosk Mode with AirDroid Business?
Managing multiple Android devices in your organization often involves adjusting display settings in Kiosk Mode. This task, essential for ensuring an optimal user experience and conforming to specific application requirements, can be challenging and time-consuming when done manually on each device. AirDroid Business provides a solution that simplifies this process.
In this article, we'll guide you step-by-step on how to adjust display settings in Kiosk Mode with AirDroid Business.
- Step 1Access the "Display" Section for Kiosk Mode
- Go to Admin Console > Policy & Kiosk > Policy & Kiosk Config Files. Click on the Arrow icon on your existing Config File > Edit.
- If you have not created a Config File, click + Create Config File instead.
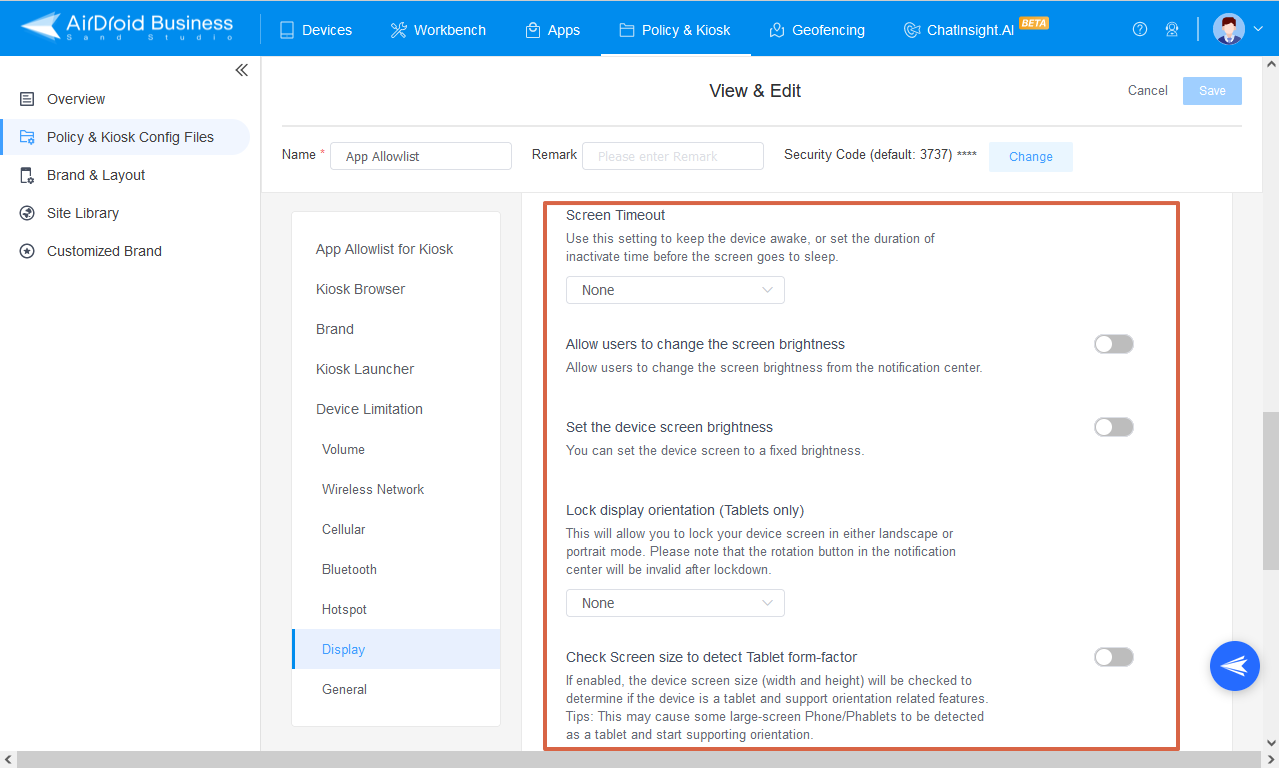
- Next, click on Device Limitation > Display. You can see the "Display" section. This is where you can adjust the display settings in Kiosk mode.

- Step 2Adjust Screen Timeout
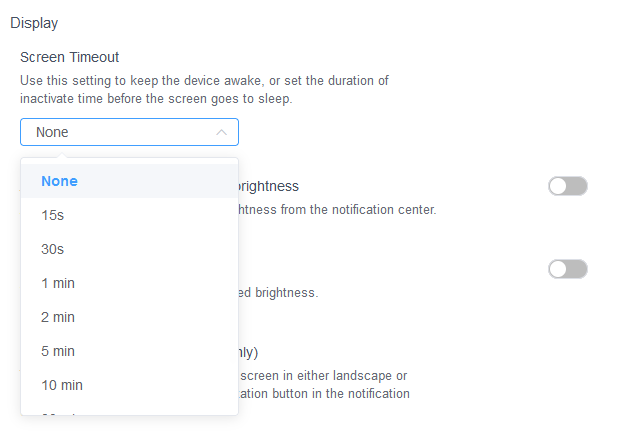
Screen Timeout
- The "Screen Timeout" setting allows you to either keep the device awake or set a specific duration of inactive time before the screen goes to sleep.
- Click the arrow and choose your preferred duration from the drop-down box.
- Step 3Manage Screen Brightness
Allow users to change the screen brightness
- You have the option to allow or disallow users to change the screen brightness from the notification center.
- ● To allow users to change the screen brightness from the notification center, please turn on this option.
- ● To disallow users to change the screen brightness from the notification center, please turn off this option.
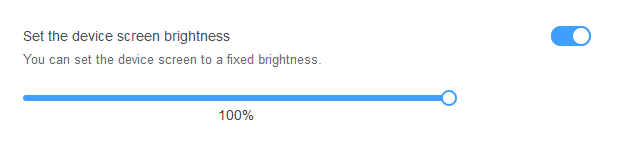
Set the device screen brightness
- ● To set the device screen to a fixed brightness, please turn on this option, and then adjust the brightness level using the slider that appears below.
- ● Not to set the device screen to a fixed brightness, please turn off this option.


- Step 4Set Display Orientation (Tablets only)
- If your devices are tablets and you require a fixed display orientation across all devices, you can configure this setting.
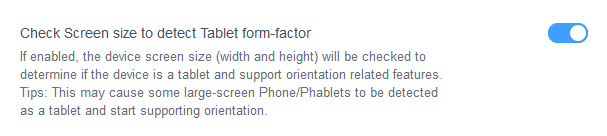
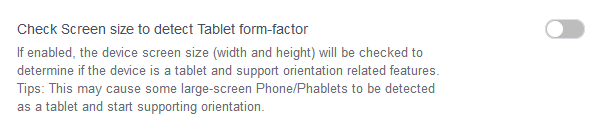
Check Screen size to detect Tablet form-factor
- This feature, when enabled, checks the device's screen dimensions (width and height) to determine if it's a tablet and subsequently enables orientation-related features.
- ● To activate this feature, please turn on the button of this option.
- ● If you do not need to detect the tablet form-factor, simply turn off the button of this option.
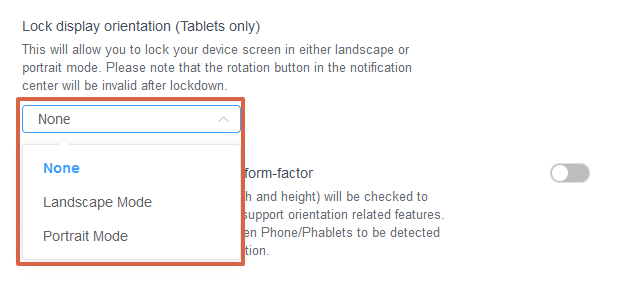
Lock display orientation (Tablets only)
- This option will allow you to lock your device screen in either landscape or portrait mode.
- You can select your preferred display orientation from the drop-down box.
- Step 5Save and Apply the Settings
- After setting up this Kiosk File, click the "Save" button on the top right corner. (When you create this file for the first time, you will need to fill in the file name and remarks.)


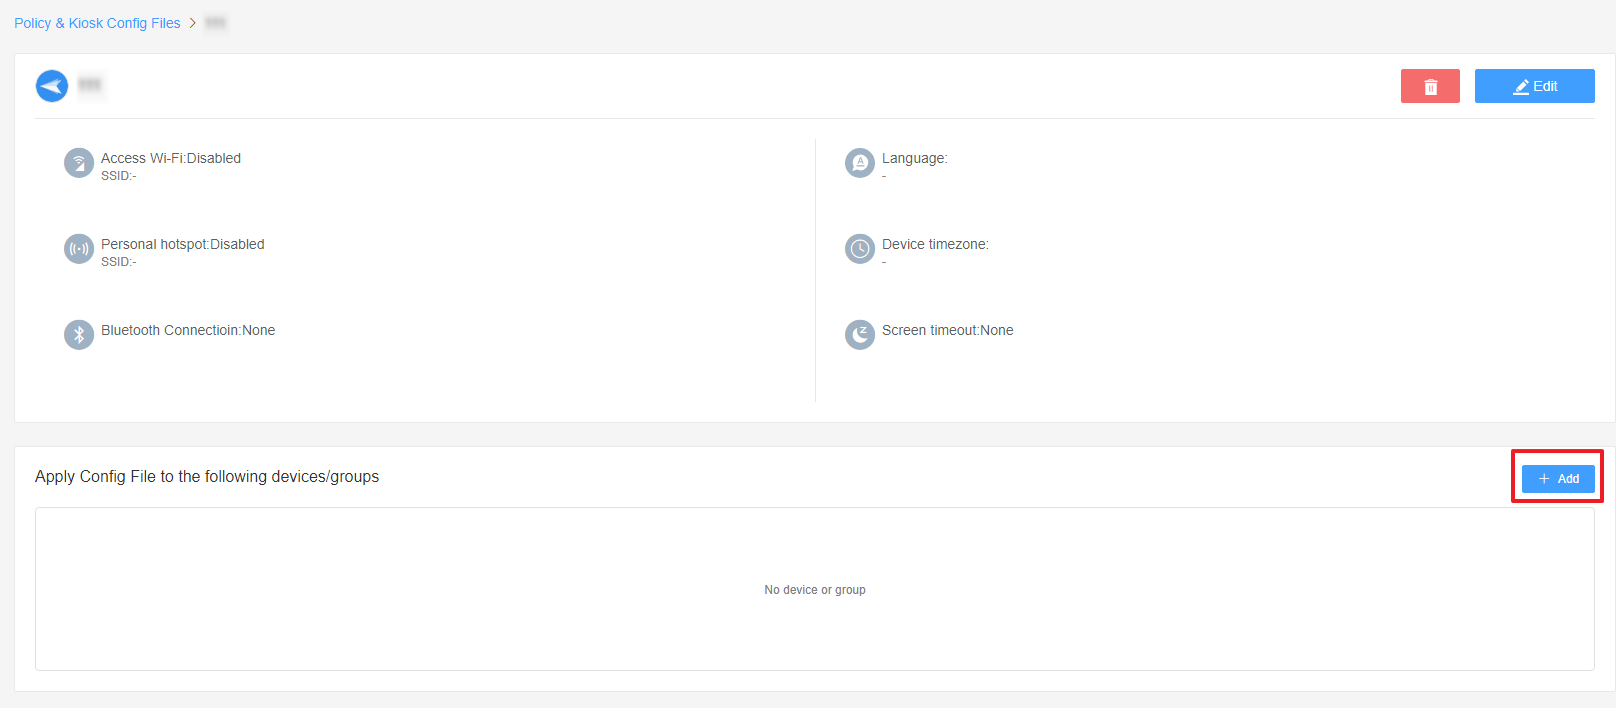
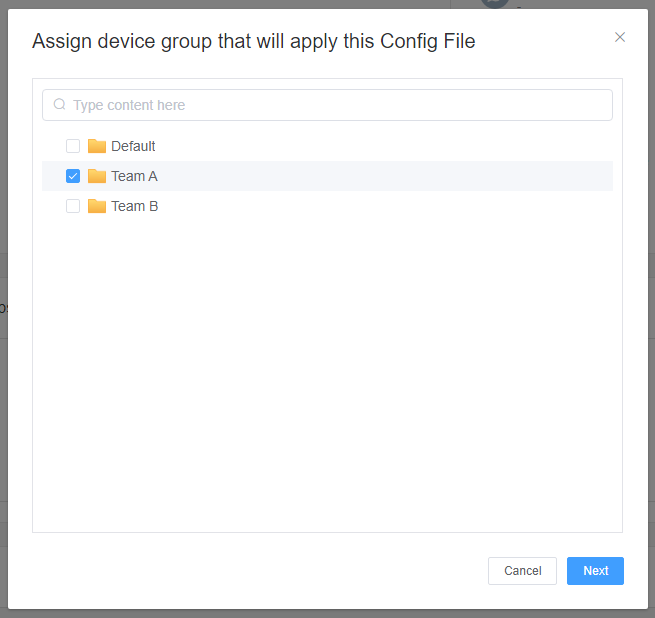
- Next, select the Kiosk File you just created or edited. Find the [Apply Config File to the following devices/groups] and click [+Add]. Choose the devices or groups to which you want to apply the kiosk settings to and confirm.


- When the status in the list turns to "Applied successfully", it means the kiosk settings have been successfully applied to the target devices.


By following these steps, you can efficiently manage and adjust the display settings on all your Android devices in Kiosk Mode using AirDroid Business. This ensures a consistent and optimal user experience across all devices.
Video Tutorial: Use Display Settings in Kiosk Mode
Still need help? Submit a request >>
Related Articles
- How to use App Allowlist for Kiosk Mode in AirDroid Business?
- How to Set up Kiosk Website Allowlist on AirDroid Business?
- How to set up Kiosk Browser Settings on AirDroid Business?
- How do I Customize the Kiosk Brand within AirDroid Business?
- How to Modify My Brand and Layout in Kiosk Mode of AirDroid Business?