[Solved!] TeamViewer Connection Failed No Route?
Quick Fix
Update TeamViewer: Make sure you have the latest version of TeamViewer installed.
Restart App: Close the TeamViewer app completely and then reopen it.
Check for Network Restrictions: If you are connected to a corporate or public network, there might be restrictions in place. You may need to contact the network administrator to ensure that TeamViewer is allowed.
Check Firewall Settings: Ensure the security setting allows outbound connections on the ports used by TeamViewer.
Enable Upnp on Rounter: Enabling UPnP (Universal Plug and Play) on your router.
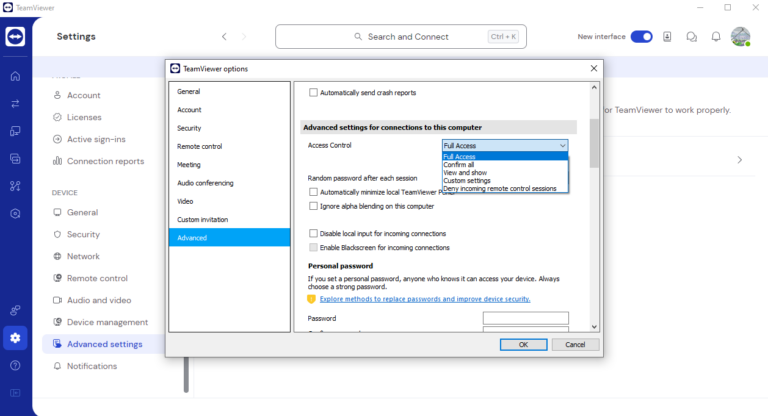
Permission Settings: Give "Full Access"to TeamViewer on adavanced settings.
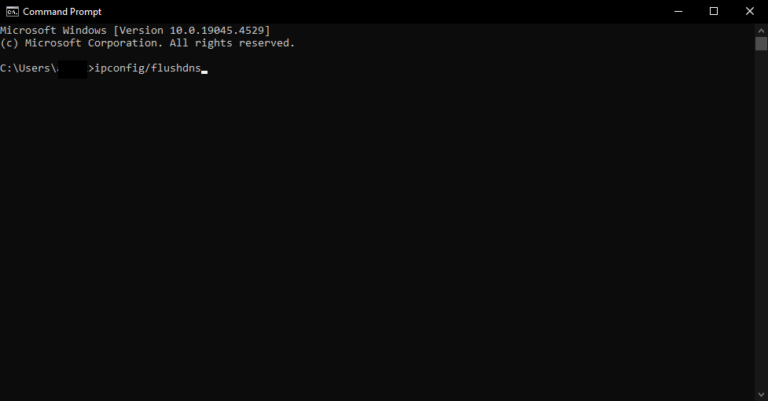
Flush DNS: Resolve network connectivity issues by clearing outdated or corrupted DNS records.
In essence, the TeamViewer Connection Failed (No Route) error" is an issue you might come across when you attempt to connect to a remote computer, where you have also installed the app. This error will happen when TeamViewer is unable to establish a route to the partner's device, thus being unable to establish a successful connection.
In this article, we will explain the "Connection Failed (No Route) TeamViewer" error, spot its causes, and give you some methods to fix it.
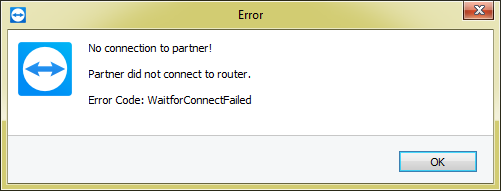
Why Is TeamViewer Connection Failed No Route?
The most significant factors that can lead to the "TeamViewer Connection Failed (No Route) error are the following:
1. Free License Limit: free users cannot use older versions of the TeamViewer license, and their connections will be blocked.
2. TeamViewer Version Mismatch: if the local and remote devices are using different versions of TeamViewer, then you might run into this issue.
3. Network Configuration Issues: sometimes this issue occurs due to incorrect network settings that prevent communication between your devices.
4. Network or Firewall Restrictions: your firewall might also be blocking the necessary ports that TeamViewer requires to establish a connection.
5. Internet Connectivity Problems: unstable or slow internet connections.
6. TeamViewer Bugs: in some cases, you are seeing this error message due to some bugs and glitches in the app.
How to Fix the TeamViewer Connection Failed No Route Error
Now that you are aware of what might be the cause of the "TeamViewer Connection Failed (No Route) error you might see, there are various fixes you can try. The most effective solutions are the following:
1Update TeamViewer
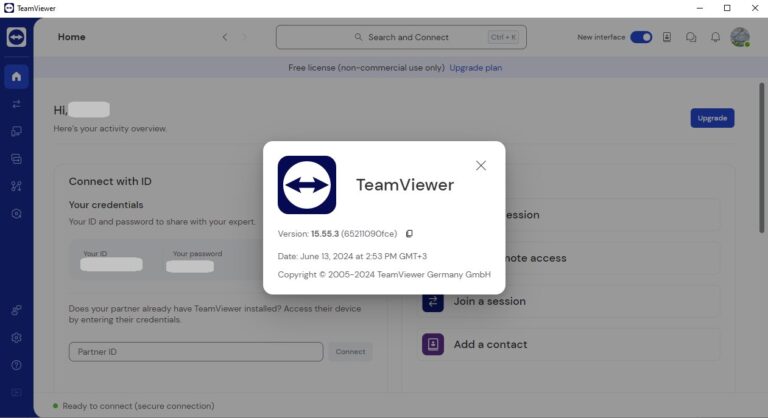
Before you attempt to establish a remote connection, it is important to verify that you are using the latest version of TeamViewer on both devices. The updated versions often include bug fixes and improvements that will make your experience better.
- Step 1.Go to the TeamViewer dashboard and click the ? icon. Click About TeamViewer, and you will see which version you are using.
- Step 2.Repeat the process for all devices that you want to connect. If there is a mismatch, download the latest versions of the app.
- Step 3.In TeamViewer Classic, you can directly check for updates. Click the Menu on the top left corner, and then click the Check for new version option.
2Restart TeamViewer
The first solution would be to just reboot TeamViewer on both local and remote devices. This method will resolve any temporary glitches you might be experiencing, thus solving the "Connection Failed (No Route) TeamViewer error.
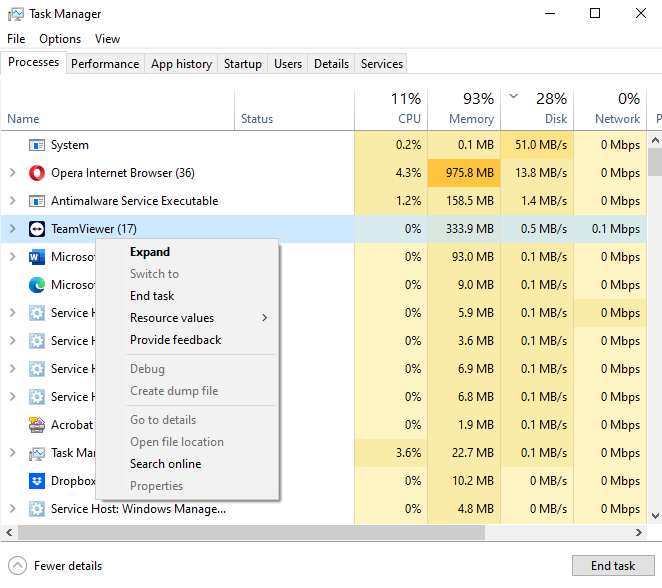
- Step 1.Close TeamViewer on both the local and remote devices. Tap Ctrl + Alt + Del, open Task Manager, and right-click on TeamViewer. Click End Task.
- Step 2.Restart the application and attempt to reconnect.
3Check Network Connection
The next solution is to ensure that both devices are connected to a stable internet connection. If the connection is slow or unstable, try a wired connection as it might improve its stability and speed.
In addition to this, you can also try restarting your network hardware. Shut down your modem and router, wait for a few seconds, and then, reboot them. Make sure that both local and remote devices reconnect to the Internet before you try to establish the connection.
4Check Firewall Settings
Step 1. On your desktop, press Windows + R to open the Run box.
Step 2. Type "Control Panel" in the box, click "OK," and then choose "System and Security."
Step 3. In the menu, click "Allow an app through Windows Firewall" under "Windows Defender Firewall."
Step 4. Click "Change Settings," check the "Remote Desktop" box, and also check the "Public" and "Private" boxes. Then click "OK."
5Enable Upnp on Rounter
If you still can't solve the problem after eliminating all the above problems, then I strongly recommend you try to enable UPnP on routers. This method was taught by my technical friend, and it has been proven to be effective.
In generally, you do not need to enable UPnP whily using TeamViewer. However, there are some scenarios where enabling UPnP might be helpful for this TeamViewer Connection Failed (No Route) issue:
- Network Restrictions: If you are in a network environment with strict outbound rules or firewalls that block certain outgoing connections.
- Performance Issues: If you experience connectivity issues or performance problems with TeamViewer.
- Custom Network Setups: If you have a custom network setup where specific port configurations are necessary.
Here's a general guide on how to enable UPnP on most routers:
Step 1. Access Your Router's Web Interface and login.
Step 2. Locate the UPnP Settings: Once logged in, navigate to the settings or advanced settings section. Look for a section labeled UPnP, Advanced, or Network.
Step 3. Enable UPnP: Find the UPnP option and toggle it to Enabled or On. Save or apply the changes.
6Give "Full Access"
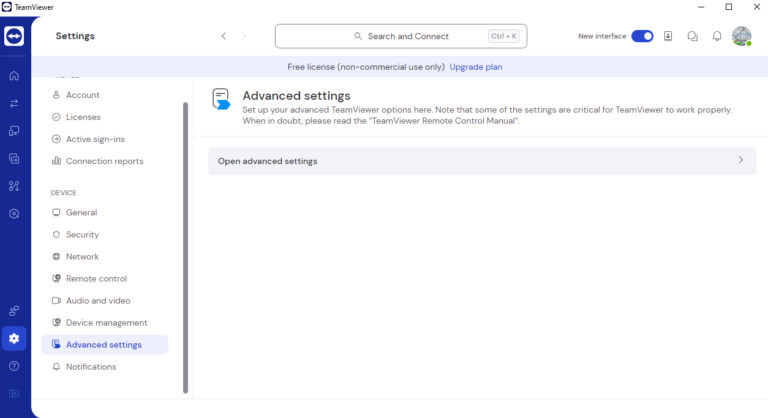
Another possible solution involves giving full access to the local computer. However, keep in mind that you need to repeat this process on both devices so that it works. Here is how to do it:
- Step 1.On TeamViewer, go to Settings > Advanced Settings, and click the Open advanced settings option.
- Step 2.Find the Advanced settings for connections to this computer section, and from the dropdown menu, select Full Access. Click OK to confirm your selection.
7Flush DNS
Sometimes, flushing the DNS cache can solve the "TeamViewer Connection Failed (No Route). Follow these steps to perform it:
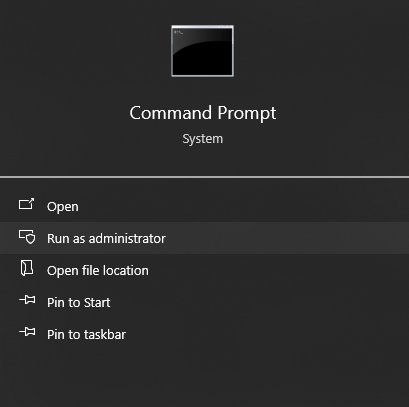
- Step 1.Type Command Prompt in the search bar, and click the Run as administrator option.
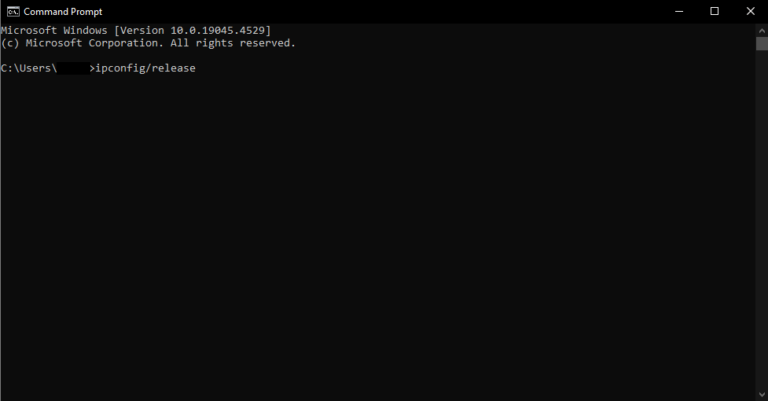
- Step 2.Type the command ipconfig/release and tap Enter to execute.
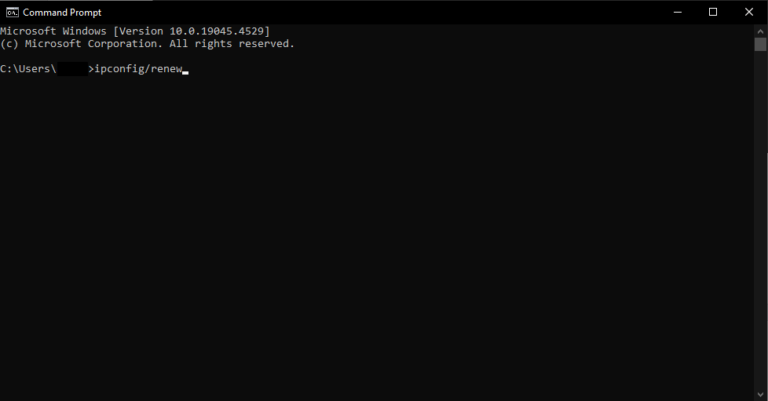
- Step 3.Type the command ipconfig/renew and tap Enter.
- Step 4.Type the command ipconfig/flushdns and tap Enter.
Best Remote Desktop Software – AirDroid Remote Support
As many users have experienced limitations with TeamViewer's free version, it might be worth exploring alternative remote access solutions. For instance, AirDroid Remote Support offers a user-friendly interface and robust features that can connect remote PC seamlessly without the same restrictions.
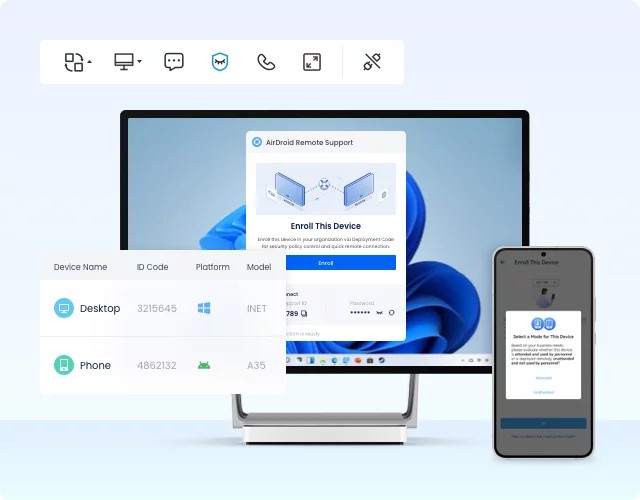
AirDroid Remote Support's features include:
- Remote Access& Quick Support: One-click unattended access to remote Windows PCs and Android.
- Black Screen Mode: Enhances your privacy since you can connect to your unattended device without worrying about leaking your data.
- File Transfer: Support file transfer between devices, facilitating the easy sharing of documents, images, and other files during remote sessions.
- Other Notable Feaures: Voice and text chat, AR camera and light-weight management, etc.
In Conclusion
The "TeamViewer Connection Failed No Route" error is frustrating if you are trying to establish a remote connection. Nevertheless, you can try one of these possible solutions to fix it. However, if you are looking for an alternative that doesn't show any of these errors, then you should try AirDroid Remote Support. This excellent alternative boasts a robust selection of features that make secure remote support easier than ever before. Try AirDroid Remote Support today and experience seamless remote connectivity.




Leave a Reply.