Like
Dislike
AirDroid Business

Award-winning MDM Solution

Try It Free
Share

How to Install Wireless Display on Windows 10

Maverick 6 Steps 30 Seconds Apr 11, 2024
Filed to: Quick Guides
ic introduction01
Wireless Display allows you to mirror another device to your Windows PC or laptop. If Wireless Display is missing in your computer, try to manually install it.
Step 1

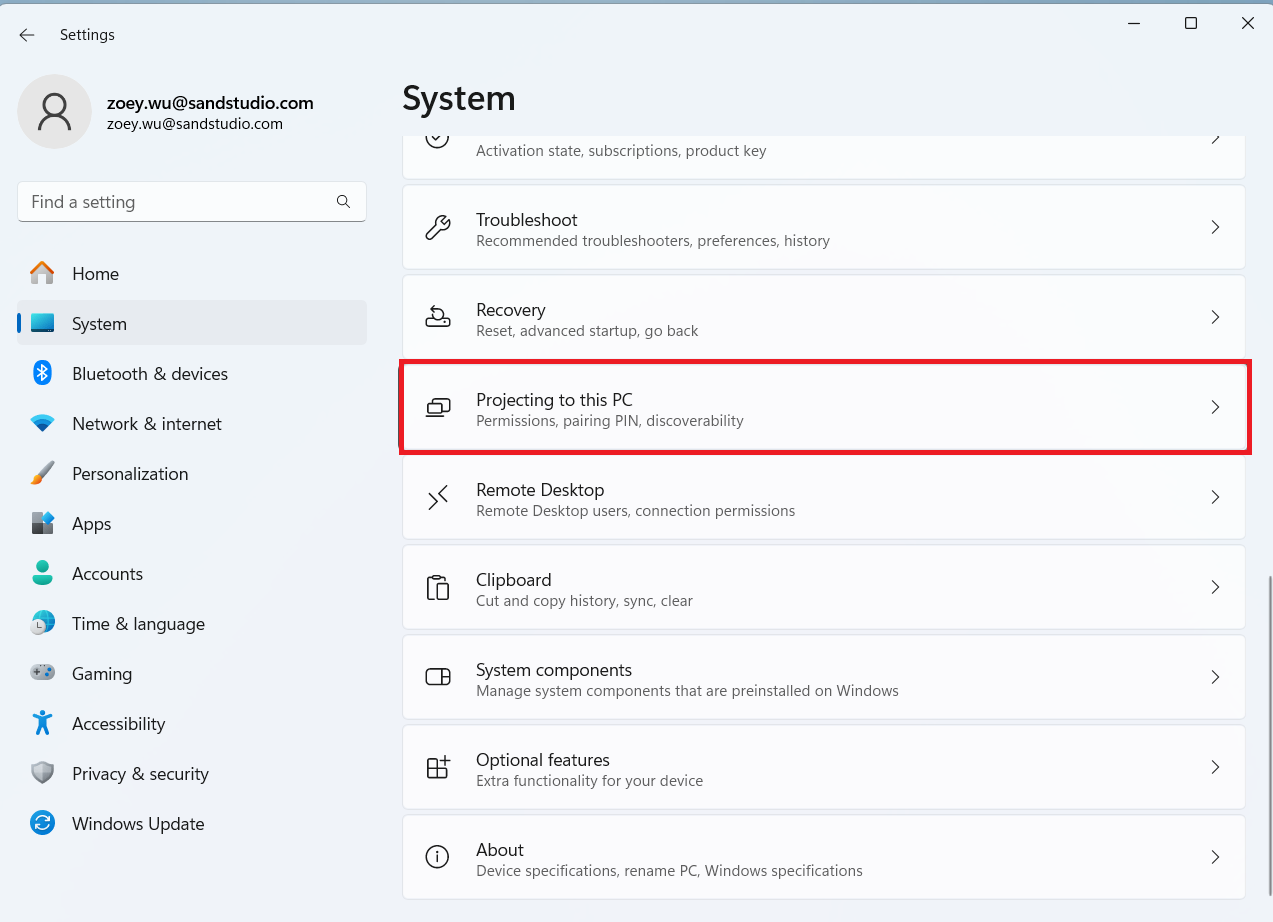
Go to Settings > System > Projecting to this PC.

Projecting to this PC
Step 2

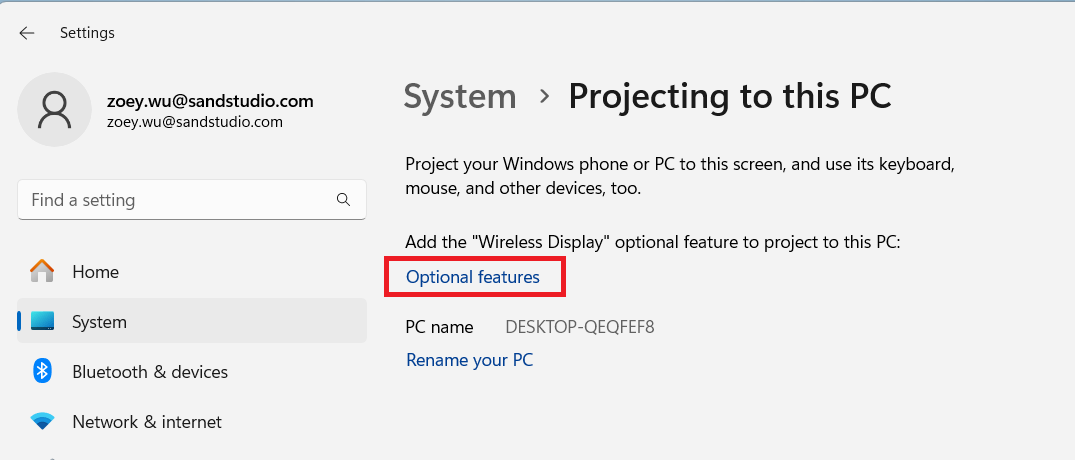
Click Optional features under Add the “Wireless Display” optional feature to project to this PC.

Optional features
Step 3

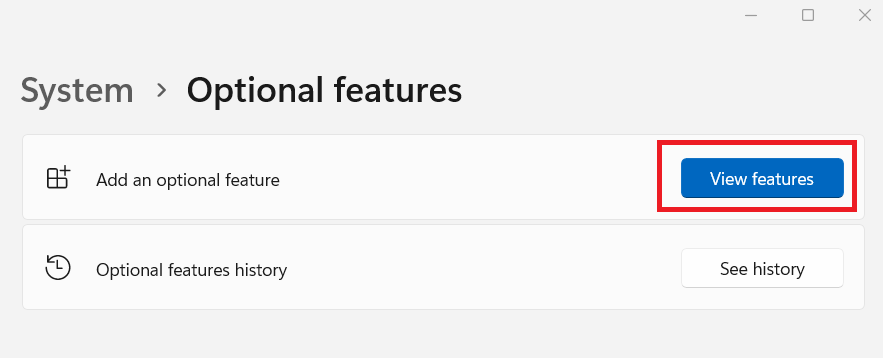
Click View features next to Add an optional feature.

View features
Step 4

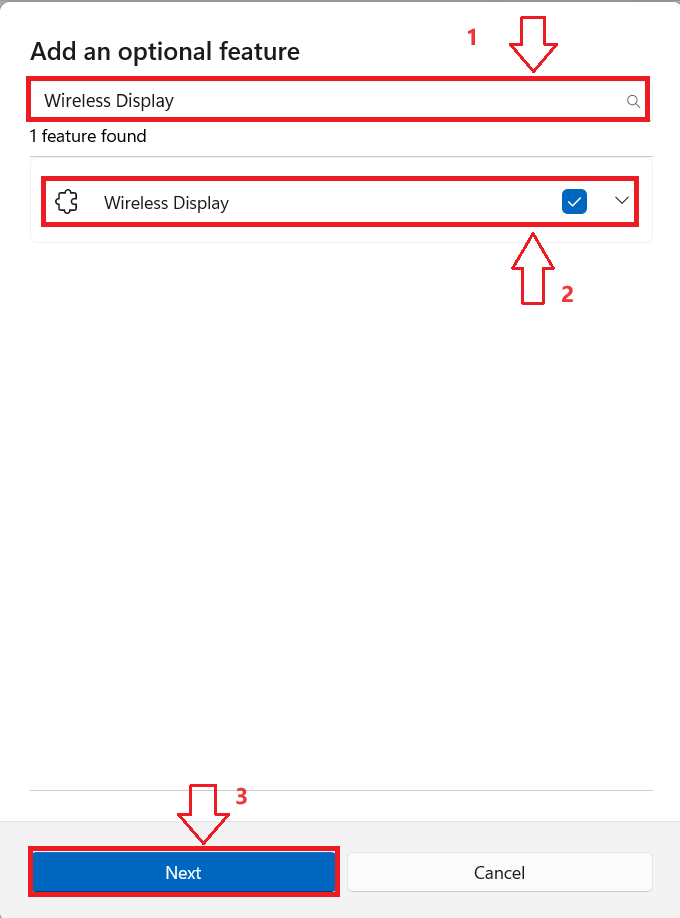
Type ‘Wireless Display’ in the search box, tick Wireless Display, and click Next.
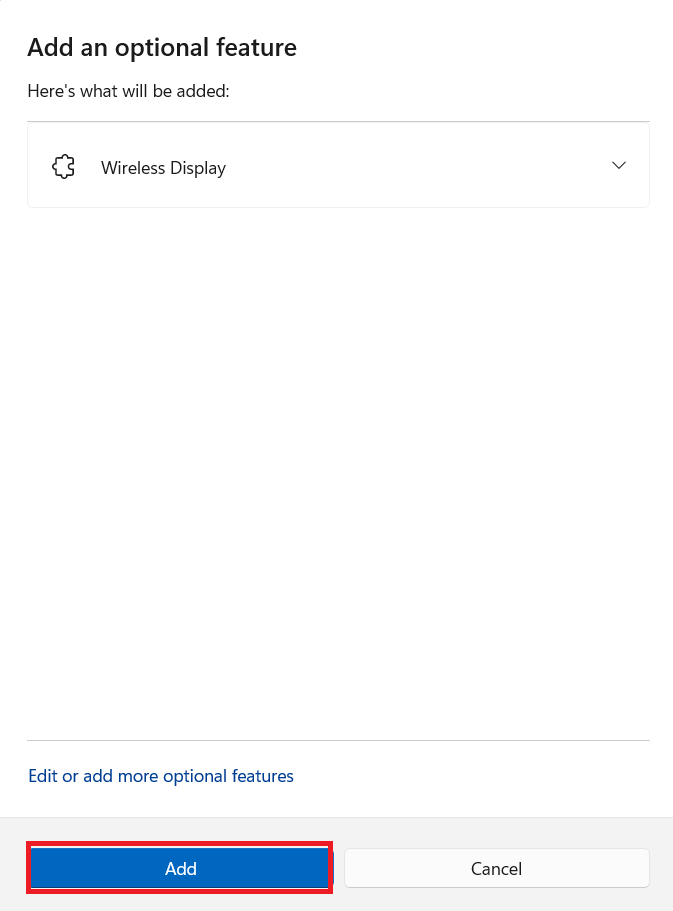
search for Wireless Display
Step 5

Click Add. Then it will start adding Wireless Display to your computer.

Add Wireless Displat on Windows 10
Step 6

Wait for the process to complete. Once added, restart your Windows 10 computer to take effect and you can cast another device screen to your computer..

Added Wireless Displat on Windows 10

AirDroid Cast - Mirror Android/iOS to TV

Free TrialSee More
Share:

You Might Also Like

  • How to Setup/Reset APN for Samsung Device(s)
  • How to Enable/Disable Play Store Auto-update?
  • How to Turn Off Chat History in ChatGPT?
  • How to Lock YouTube Kids Screen
  • How to Stop Contact Joined Telegram Messages on Android
  • How to Hide My Phone Number on Telegram
Discussion
The discussion and share your voice here.

Leave a Reply. Cancel reply

Your email address will not be published. Required fields are marked*

*

Product-related questions?Contact Our Support Team to Get a Quick Solution>
Home > Quick Guides > How to Install Wireless Display on Windows 10