

How to set up Date and Time Policy in AirDroid Business to optimize your business operations?
During the mobile device management (MDM) process, administrators may face challenges in coordinating tasks across different time zones. This can be a significant issue if your organization operates globally or has remote teams working in different locations. Proper synchronization of date and time settings between all devices is critical for efficient operation and clear communication.
AirDroid Business offers a solution to this issue with its Date and Time Policy feature. This article will guide you through understanding what the Date and Time Policy in AirDroid Business is and how to implement it.
1What is Date and Time Policy?
Date and Time Policy can ensure that all devices in the network are running under the correct date and time settings. This includes not only the correct time zone but also the exact local time to prevent any confusion or miscommunication.
The policy is primarily divided into two aspects of settings: Time Zone Setting and Change Date/Time Setting.
Time Zone Setting: You can set and lock the time zone of a device.
Change Date/Time: Allow or disallow users to modify the time and date settings on the device.
2Steps to Set up Date and Time Policy
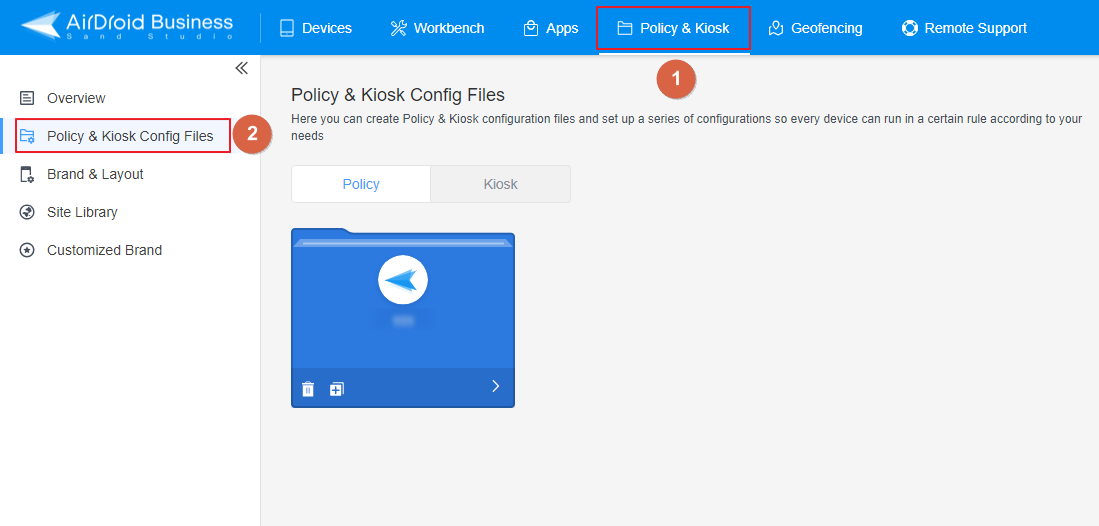
- Step 1Access Policy Setting
- Log into Admin Console, navigate to the "Policy & Kiosk" Section on the dashboard, and click "Policy & Kiosk Config Files".
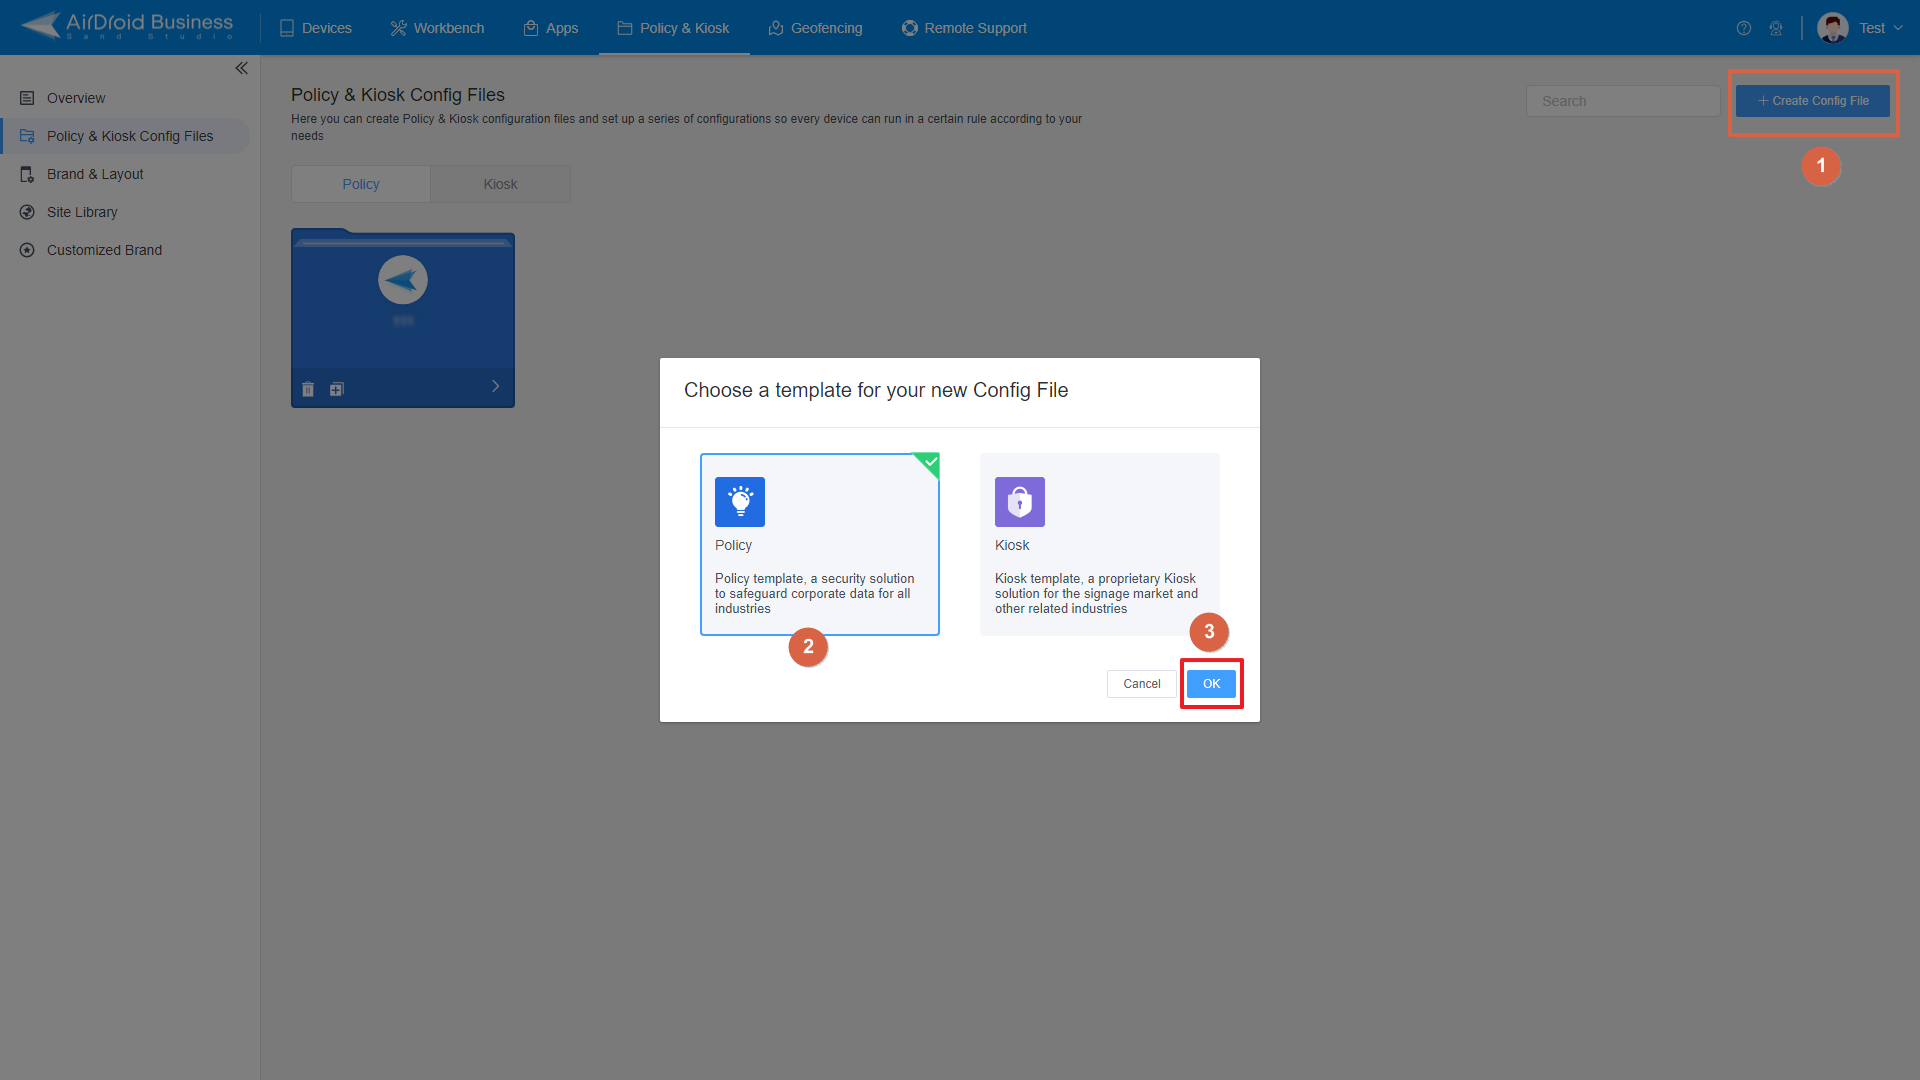
- Step 2Create or Edit a Policy
- In this section, you have the option to either create a new policy or modify an existing one.
- ● To create a new policy, click on "+Create Config File", choose "Policy" and then click "OK" on the pop-up.
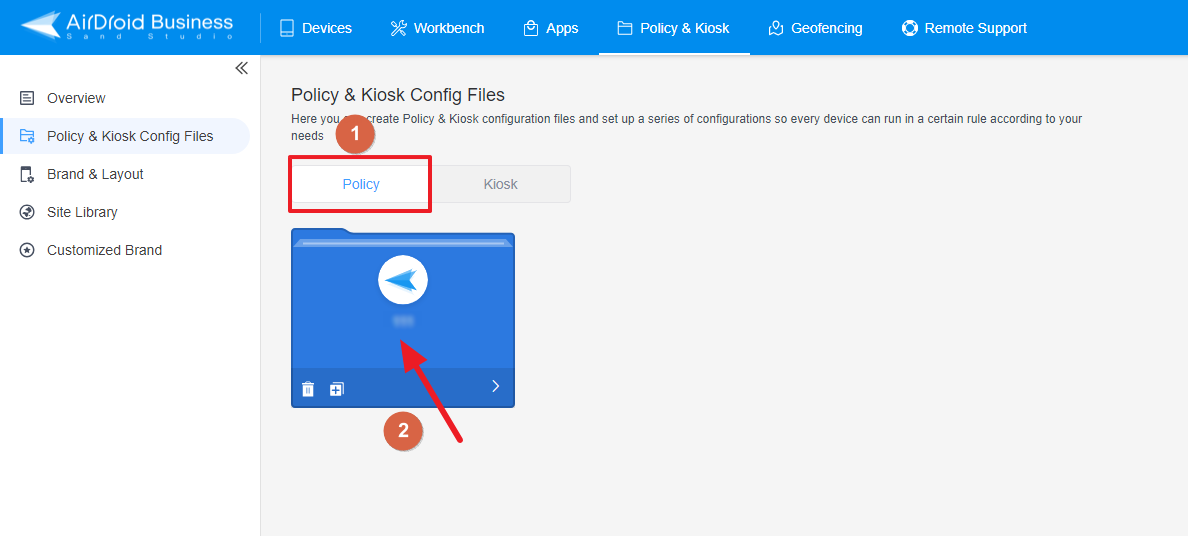
- ● To modify an existing Policy, switch to the "Policy" tab, select the Policy File you want to modify.
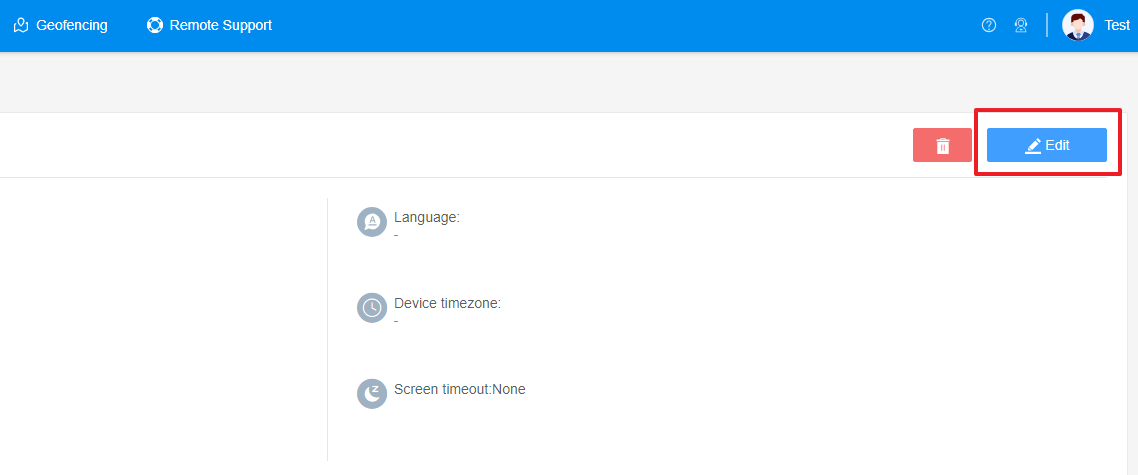
- Click on the "Edit" Button in the top right corner. On the following page, you can set all kinds of limitations and settings for your config file.
- Step 3Access the "Date and Time" Policy Section
- Click on [Restrictions], and find the "Date and Time" section. Here, you can configure the "Date and Time" Policy.
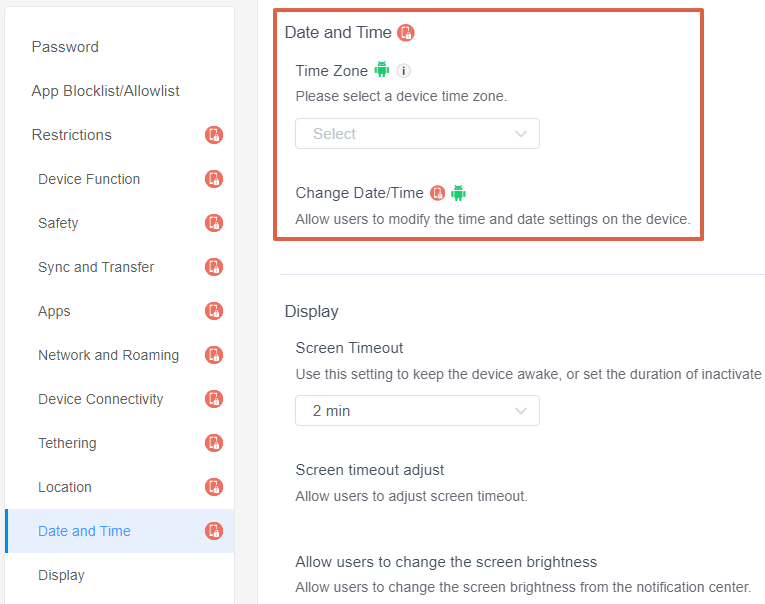
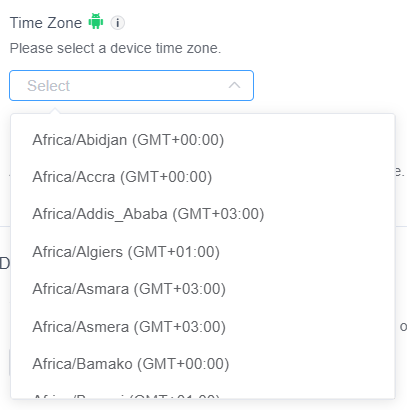
- Step 4Configure the Time Zone Setting
- Time Zone Setting: This allows you to set and lock a device's time zone.
- You can choose the time zone by clicking on the drop-down box.
- Step 5Modify the Change Date/Time Setting
- Change Date/Time: This setting allows or disallows users to modify the time and date settings on the device.
- ● To allow users to modify the time and date settings on the device, please turn on the "Change Date/Time" option.
- ● To disallow users to modify the time and date settings on the device, please turn off this option.
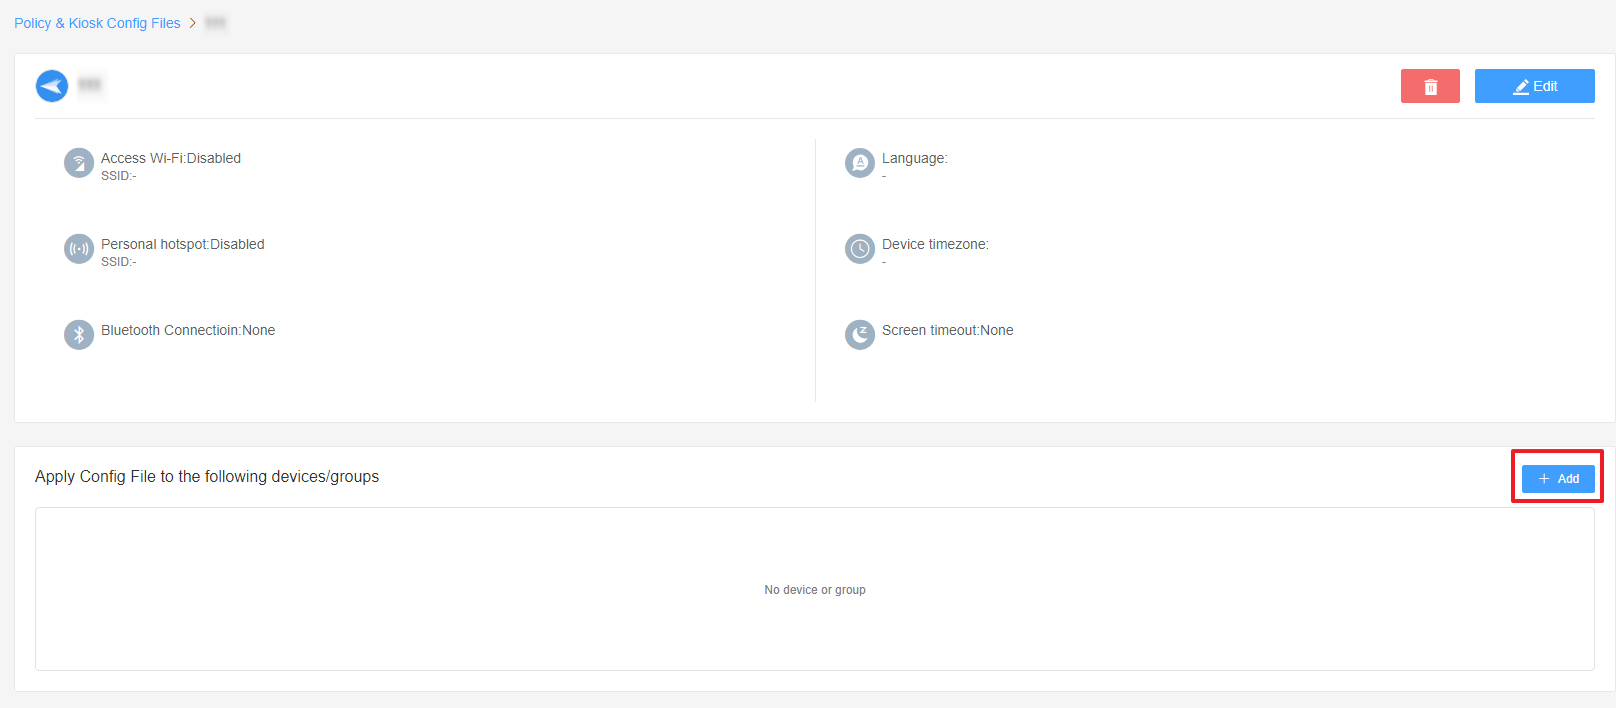
- Step 6Save and Apply the Policy
- After setting up the this Policy, click "Save" button on the top right corner.
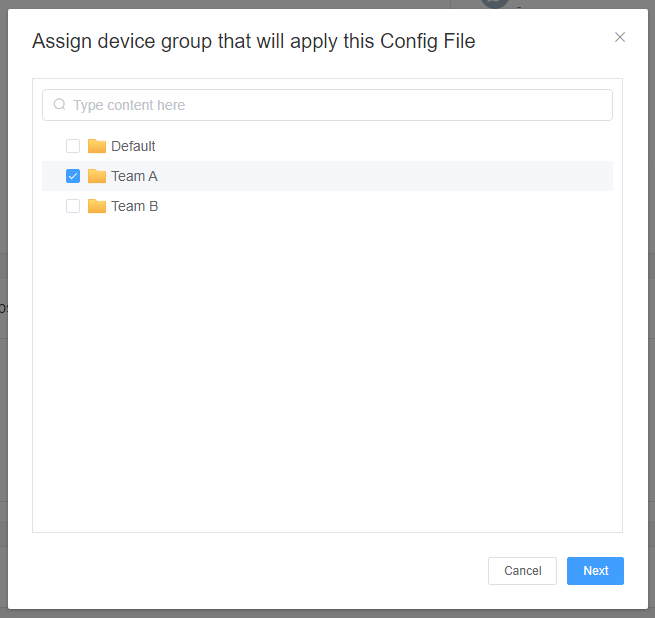
- Then, return to the Policy Management section, select the policy you created or edited, find the [Apply Config File to the following devices/groups] and click [+Add]. Choose the devices or groups you want to apply the policy to and confirm.
- When the status in the list turns to "Applied successfully", the policy settings have been successfully applied to the target devices.
2. Devices with Android 9.0 or above need to gain Device Owner permission to take effect.
3. Devices enrolled through Android Enterprise or Zero Touch on Android 9.0 and above are not supported.


2. These settings only take effect when AirDroid Biz Daemon has the Device Owner permission on the device.


By following these steps, you can effectively set up the Date and time Policy in AirDroid Business. This will ensure that all devices in your network operate on the correct date and time settings, thereby enhancing coordination, improving communication, and ultimately optimizing your business operations.
Still need help? Submit a request >>
Related Articles
- How to Use OEMConfig Policy to Restrict the Samsung Device
- How to implement App Blocklist/ App Allowlist on AirDroid Business?
- How can I control camera access using Camera and Lockscreen Camera Settings in AirDroid Business?
- How can I set up password rules with Android Password Policy in AirDroid Business?
- How do I manage Microphone Permissions in AirDroid Business?
You May Also Like
- How to use App Allowlist for Kiosk Mode in AirDroid Business?
- How to Set up Kiosk Website Allowlist on AirDroid Business?
- How to set up Kiosk Browser Settings on AirDroid Business?
- How do I Customize the Kiosk Brand within AirDroid Business?
- How to Modify My Brand and Layout in Kiosk Mode of AirDroid Business?