5 Proven Ways on How to Transfer Videos from iPhone to Mac in 2023
Let us learn some easy ways to transfer video from iPhone to Mac without losing its quality.
Many a time, you need to send large videos from an iPhone to a Mac. Maybe you want to free up some space on your iPhone or maybe, you need to make a backup of these files on Mac. Luckily, the process is easier than you think it is.
One of the benefits of using multiple Apple products is the added convenience in transferring data between them. We have shortlisted a few simple ways on how to transfer videos from iPhone to Mac seamlessly.
Just give it a read and find out which method works best for you.
Part 1: Should You Transfer Video from Mac to iPhone?
Before we dig into how to transfer videos from iPhone to MacBook, let’s answer a very simple question. Is it safe to send video from iPhone to Mac or will it result in loss of quality?
Honestly speaking, it’s 100% safe and reliable to move videos or any data between iPhone and Mac as long as you’re using the right method. Thanks to Apple’s cutting-edge antimalware tech, it’s very difficult for malware to your devices during the file transfer.
Additionally, there’s a little to no chance of your videos getting corrupt during the process as well. So, rest assured, you shouldn’t hesitate to move videos from iPhone to Mac – if need be.
Part 2: How to Transfer Video from iPhone to Mac
Users have multiple tools and ways in disposal to transfer videos from an iPhone to a Mac. Here’s a step-by-step guide of the 5 most sought-after solutions.
1Using AirDrop
Developed by Apple, AirDrop is an advanced file sharing technology that allows you to move data between two Apple devices. The biggest advantage of using AirDrop is you get super-fast speed without any wired connection.
Just make sure you enable Bluetooth and Wi-Fi on both devices as well as place them close to each other. Then, follow the below steps to make the transfer:
- Step 1. Search AirDrop on your iPhone’s settings and make it visible to Everyone – if not already.
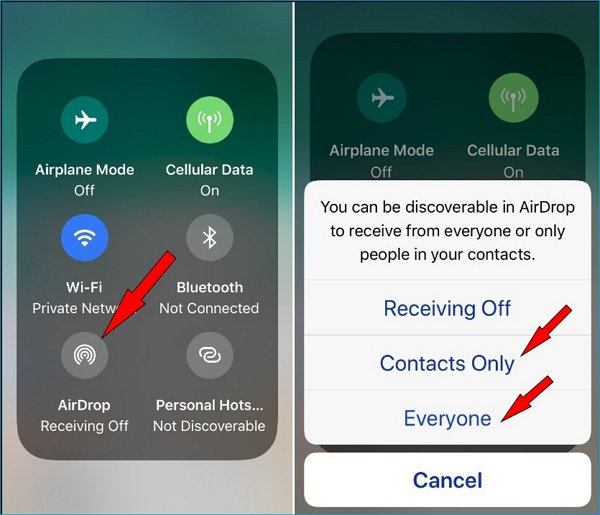
- Step 2. Now, go to your Mac and click Control Center in the menu bar. Here, turn it on and activate it for Everyone.
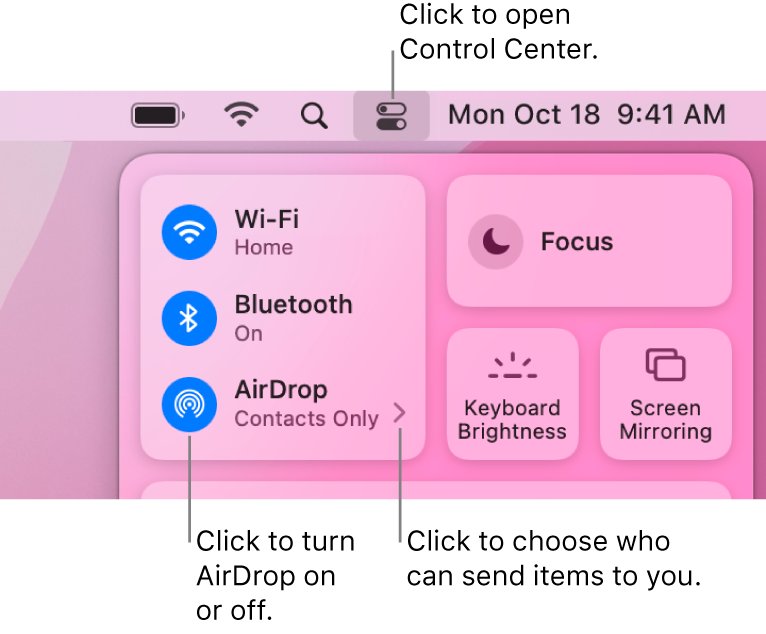
- Step 3. After that, select the videos on your iPhone that you want to send and tap Share > AirDrop. Choose your Mac and hit Share to begin the file transfer.
If a confirmation tab pops up on the Mac, hit Accept to get going. After the transfer, go to the "Downloads" folder to check the video files.
It’s recommended to turn off the Everyone feature on AirDrop after the transfer.
2Using Dropbox
One of the oldest cloud storages in the world that lets you share up to 2GB of data between devices for free. Millions of people use this online service to transfer video from iPhone to Mac without quality loss.
It boasts of advanced encryption system to protect users’ data and privacy. With Dropbox, you don’t need to worry about your files getting corrupt or lost. What’s more, it allows you to organize the videos in different folders for convenience.
Having said that, check out the below steps to move videos from iPhone to Mac using Dropbox:
- Step 1. Install the Dropbox app on your iPhone from the App Store. It is available for free.
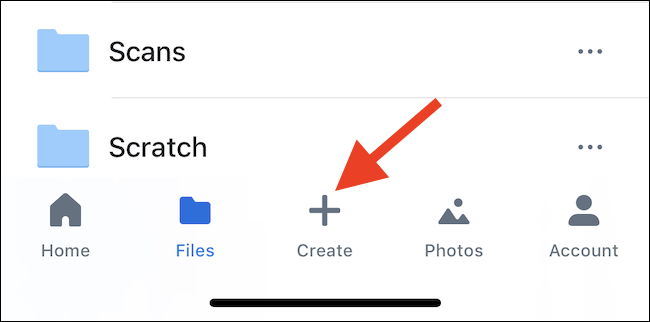
- Step 2. Login/sign up with your account, tap Create, and upload all the video files you want to transfer.
- Step 3. From your Mac, go to the Dropbox website, login with your account, and locate your video files.
- Step 4. Finally, download them on your Mac.
As mentioned earlier, Dropbox holds 2GB of free data. If you want more space, simply buy the additional storage plans or else, use another method.
3Using Google Drive
Want to move more than 2GB of videos in one go? Why not use the all-popular Google Drive app to get the job done!
This online service provides a free storage space of 15GG, enough to hold all your important videos. Google Drive is compatible with all platforms. You can easily use it on iOS, Android, macOS, and Windows computers without losing video quality.
Here’s how to transfer a video from iPhone to Mac via Google Drive:
- Step 1. Install the Google Drive application on your iPhone. Login with your Google account to get started.
- Step 2. Open the app and upload the videos you wish to transfer.
![]()
![]()
- Step 3. Now, navigate to drive.google.com from your Mac browser and log into your account.
- Step 4. Finally, download the video files you have uploaded to your Mac.
4Using USB Cable
Probably the most obvious and popular method to transfer videos from iPhone to Mac. All you need to do is connect your devices via a USB cable and start transferring files.
![]()
![]()
Since this solution is pretty straightforward, you won’t face any technical issues. Additionally, users can transfer as many files as they want.
- Step 1. First things first, connect your iPhone and Mac via a USB cable. You may get a verification prompt on the iPhone to allow the connection between devices.
- Step 2. Open the Finder window on your Mac. Then, click on your iPhone under Devices/Locations.
- Step 3. Finally, go to the specific folder containing your videos, copy the files, and paste them anywhere on your Mac.
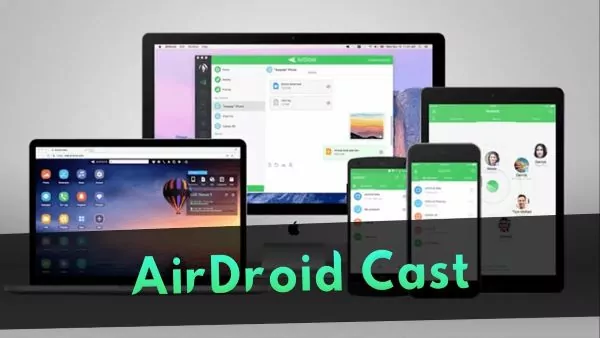
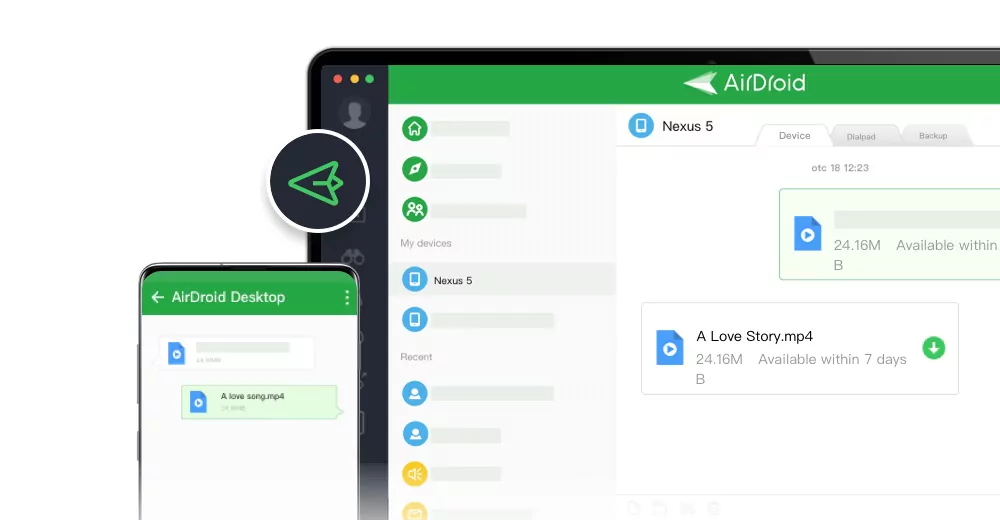
Part 3: Best Way to Transfer Videos from iPhone to Mac – Use AirDroid Personal
Use AirDroid Personal
Looking for the easiest way to transfer videos from iPhone to Mac? Look no further and get AirDroid Personal. No matter how many or how large your video files are, this tool ensures a lightning-fast speed to move them from iPhone to Mac.
Aside from videos, you can transfer any type of data between iPhone and Mac. More strikingly, the app boasts of its ability to transfer your files between any two platforms, be it Android, Mac, iOS, or Windows. In addition, you get access to many remote-control features like SMS management from PC, screen mirroring, backup and restore iPhone data on Mac or Windows, and many more.
![]()
![]()
Key Features
- Allows a seamless procedure to transfer videos from iPhone to Mac.
- No limit on the size or number of videos you want to send.
- Quick and lossless transfer.
- It lets you share videos between any two platforms including Android, Mac, Widows, and iOS.
- Supports all popular data types.
- You can remotely control your phone from PC including its SMS, notifications, calls, and internal files.
- Mirror your smartphone on a desktop.
Using AirDroid Personal is as easy as it can get. Implement the below steps to transfer data from iPhone to Mac:
- Step 1. Start by AirDroid Personal Desktop Client and AirDroid mobile app on the respective devices. Then, sign in with your AirDroid account.
- Step 2. From the mobile app, go to My Devices and tap your Mac’s name. The app will establish a remote connection.
- Step 3. Now, tap the File Transfer option > attachment icon > Videos, and select the videos files you want to transfer. Hit Send to make the transfer.
You’ll be able to view the sent videos on your desktop app.
If you want to transfer videos from MacBook to iPhone, simply use the Transfer option on the desktop app.
Final Remarks
That’s all you needed to know about how to transfer video from Mac to iPhone or vice versa. With the aforementioned methods, you shouldn’t face any difficulty in moving video files between your iPhone and Mac.
But as far as our recommendation goes, get the premium version of AirDroid Personal and enjoy seamless video transfer. This program guarantees universal data sharing as you can easily send videos/files between Android, Mac, Widows, or iOS.
FAQs
Check out some useful insights into the topic at hand.
1. How to transfer video from Mac to iPhone
To transfer video Mac to iPhone:
- Upload your videos on Google Drive (drive.google.com) from your Mac.
- Launch the app on your iPhone, sign in with your Google account, and download your videos to the Photos.
- Enjoy.

Leave a Reply.